Good Morning! This is Jen from 3 Cats and a Bug. As always, I'm so excited to be a designer here at the The Bugbytes!
Come January 2012, I will be a Grandma to a little baby boy! The timing was perfect, we just found out they were having a boy, I've only had Fancy Frames for a short time and Grandparent's Day is just around the corner. It seemed a perfect time to make a brag book for the other new Grandma.
I used 5 different frames, repeating the first one for the back cover also. The front and back were cut @ 5X6.5 and the others were cut @ 4.75X6.25.
On each frame I cut the frame front, the back frame minus the inside cut (hide contour) and a 2nd frame front that I flipped.
The top of each frame was left open to slide pictures into. The outside of the back cover I used hide contour again to the inside cut, so it wasn't a frame. I used my Cinch to punch two holes and put it all together.
I added 3 ribbons to each ring.
I used another frame, cut @ 5X6.5 for a card front and I used my Cricut markers and Lyrical letters to "write" Happy Grandparent's Day".
Stop by 3 Cats and a Bug to see what else I've been up to!
Thanks for looking!
Welcome - Copyright & Disclaimer
We are moving from custom domain back to blogspot. If there are broken links please try adding blogspot.com instead of .com.
Welcome to The Bug Bytes - a blog mainly for Papercrafting and some photography and other stuff thrown in here & there. Add in some die cutting machine, scrapbooking tools, cameras, scissors , glue and...... My name is Pam. If you have been redirected from papillondigitaldesign.blogspot.com you have come to the right place.Hope you get inspired by the projects, videos and files. Would love it if you could leave comments and become a follower. (Word verification is turned ON to avoid spam. Sorry for that inconvenience.) Would love it if you would also share your project here . If you find a linky under the post do share your project by posting link there or if you do not find a linky post your link in the comments.Thank you for visiting.
September 5, 2011
September 4, 2011
Easy Canvas Prints
Hello Everyone
A few days back I got an email to review a product called EasyCanvasPrints. This one interested me very much as I love canvas! And when one can print a picture onto canvas and hang it on the wall then Yes!
Their website is https://www.easycanvasprints.com/ .
Here is a picture of my 8 x 8 canvas. This picture is from a layout I made a while back - http://www.thebugbytes.com/2011/05/youre-my-sonshine.html
Here is the canvas
Here's how the back looks
I chose the 3/4" standard wrap. There is an option for gallery wrap too for add on cost which I think is about 1& 1/2 inches or 1& 1/4th inch - I am not sure.
After you choose the wrap you upload the image and it'll tell you if the resolution is ok or not. It should be between 180 DPI and 240 DPI. Then once you do that you can choose the type of border for the wrap - a mirror image, image wrap or border color. I liked the mirror image.
So if you want an image canvas printed do take a look at this site
https://www.easycanvasprints.com/
A few days back I got an email to review a product called EasyCanvasPrints. This one interested me very much as I love canvas! And when one can print a picture onto canvas and hang it on the wall then Yes!
Their website is https://www.easycanvasprints.com/ .
Here is a picture of my 8 x 8 canvas. This picture is from a layout I made a while back - http://www.thebugbytes.com/2011/05/youre-my-sonshine.html
Here is the canvas
Here's how the back looks
I chose the 3/4" standard wrap. There is an option for gallery wrap too for add on cost which I think is about 1& 1/2 inches or 1& 1/4th inch - I am not sure.
After you choose the wrap you upload the image and it'll tell you if the resolution is ok or not. It should be between 180 DPI and 240 DPI. Then once you do that you can choose the type of border for the wrap - a mirror image, image wrap or border color. I liked the mirror image.
So if you want an image canvas printed do take a look at this site
https://www.easycanvasprints.com/
Easy Canvas Prints
Hello Everyone
A few days back I got an email to review a product called EasyCanvasPrints. This one interested me very much as I love canvas! And when one can print a picture onto canvas and hang it on the wall then Yes!
Their website is https://www.easycanvasprints.com/ .
Here is a picture of my 8 x 8 canvas. This picture is from a layout I made a while back - http://www.thebugbytes.com/2011/05/youre-my-sonshine.html
Here is the canvas
Here's how the back looks
I chose the 3/4" standard wrap. There is an option for gallery wrap too for add on cost which I think is about 1& 1/2 inches or 1& 1/4th inch - I am not sure.
After you choose the wrap you upload the image and it'll tell you if the resolution is ok or not. It should be between 180 DPI and 240 DPI. Then once you do that you can choose the type of border for the wrap - a mirror image, image wrap or border color. I liked the mirror image.
So if you want an image canvas printed do take a look at this site
https://www.easycanvasprints.com/
A few days back I got an email to review a product called EasyCanvasPrints. This one interested me very much as I love canvas! And when one can print a picture onto canvas and hang it on the wall then Yes!
Their website is https://www.easycanvasprints.com/ .
Here is a picture of my 8 x 8 canvas. This picture is from a layout I made a while back - http://www.thebugbytes.com/2011/05/youre-my-sonshine.html
Here is the canvas
Here's how the back looks
I chose the 3/4" standard wrap. There is an option for gallery wrap too for add on cost which I think is about 1& 1/2 inches or 1& 1/4th inch - I am not sure.
After you choose the wrap you upload the image and it'll tell you if the resolution is ok or not. It should be between 180 DPI and 240 DPI. Then once you do that you can choose the type of border for the wrap - a mirror image, image wrap or border color. I liked the mirror image.
So if you want an image canvas printed do take a look at this site
https://www.easycanvasprints.com/
September 3, 2011
Thanks and a Welcome to our new designer's
I just wanted to say Welcome to our new designer's - Carole, Dayna, Debbie, Jeannie , Jen and Kate. Can't wait to see your projects You have already seen some of their work here. And a big thanks to all of the designer's at The Bug Bytes for their genorosity in sharing their awesome talent with all of us. And we wouldn't be here without you readers! So thanks to all of you as well.
Pam
Pam
September 2, 2011
Papercraft Weekend Challenge September 1st week
I love the challenges by Allison and Caroline at http://papercraftweekendchallenge.blogspot.com/2011/09/september-sketch-challenge.html
This was the sketch
and I was so excited to start playing lol that my eyes just missed seeing the card sketch. But I guess they'll forgive me! Anyway of course I used my silhouette. I designed and waited for my son to come from school to bring my printed sheet and stuff downstairs so that I could cut and glue. That dear boy! Anyway it was pretty late by the time I finished and took the pic. So sorry for the quality of the picture. Here is the card I made
A close up of the main shape
The paper/pattern is from oscraps moonrise digital kit. The words/sentiment is my own - what I came -up with looking at the mixer! Just a text on circle path! The font is one of the free fonts - Cold Coffee!
The screenshot of the silhouette screen
do join the challenge! It is fun!
This was the sketch
and I was so excited to start playing lol that my eyes just missed seeing the card sketch. But I guess they'll forgive me! Anyway of course I used my silhouette. I designed and waited for my son to come from school to bring my printed sheet and stuff downstairs so that I could cut and glue. That dear boy! Anyway it was pretty late by the time I finished and took the pic. So sorry for the quality of the picture. Here is the card I made
A close up of the main shape
The paper/pattern is from oscraps moonrise digital kit. The words/sentiment is my own - what I came -up with looking at the mixer! Just a text on circle path! The font is one of the free fonts - Cold Coffee!
The screenshot of the silhouette screen
do join the challenge! It is fun!
My Copic Adventure
Hello
This is Pam @ The Bug Bytes and I am a guest designer today at Sassylady.
I am now fascinated with copics and Wow with silhouette and digital stamps ooh what fun. Some tracing , tweaking and lo behold the stamp gets cuts out so beautifully.
So here is my 1st copic adventure. I am rather pleased with how it turned out.
I am in love with both silhouette and copics. My only grouse is after being used to a large canvas ie in watercolor paper the size 15 x 30 - the real estate for coloring has grown teeny :)
The stamp used here is a free digital stamp from http://bodilsscrappeverden.blogspot.com/
The view of the silhouette studio window

This is Pam @ The Bug Bytes and I am a guest designer today at Sassylady.
I am now fascinated with copics and Wow with silhouette and digital stamps ooh what fun. Some tracing , tweaking and lo behold the stamp gets cuts out so beautifully.
So here is my 1st copic adventure. I am rather pleased with how it turned out.
I am in love with both silhouette and copics. My only grouse is after being used to a large canvas ie in watercolor paper the size 15 x 30 - the real estate for coloring has grown teeny :)
The stamp used here is a free digital stamp from http://bodilsscrappeverden.blogspot.com/
The view of the silhouette studio window

As you can see I added 2 images to color just in case. Note that the image is cut off above the ankles.
Nope I did not do the cutting - the image came that way. After coloring and mounting the image onto the label background I decided that it needed something so yep I added some grass cut out by hand ;).
and tucked her missing parts under the grass lol. The whites on image are from gel pen
The button was a just a plain old pastel yellow button but I jazzed it up (or down) with copics - red around the rim or lip and gray under the lip and white gel pen. Looks coordinated now doesn't it?
I first saw embellishing the envelope at LorraineB's http://cardcreationsbylorraine.blogspot.com about a year back and since then I have started to add borders to envelope. I also like to take it one step further and add a border to the inside of the card as well and also bring a bit of something out to the envelope front.
Here is one more view
Here's the inside of the card
Hope you liked the card.
My Copic Adventure
Hello
This is Pam @ The Bug Bytes and Papillon Digital Designs and I am a guest designer today at Sassylady.
I am now fascinated with copics and Wow with silhouette and digital stamps ooh what fun. Some tracing , tweaking and lo behold the stamp gets cuts out so beautifully.
So here is my 1st copic adventure. I am rather pleased with how it turned out.
I am in love with both silhouette and copics. My only grouse is after being used to a large canvas ie in watercolor paper the size 15 x 30 - the real estate for coloring has grown teeny :)
The stamp used here is a free digital stamp from http://bodilsscrappeverden.blogspot.com/
The view of the silhouette studio window
This is Pam @ The Bug Bytes and Papillon Digital Designs and I am a guest designer today at Sassylady.
I am now fascinated with copics and Wow with silhouette and digital stamps ooh what fun. Some tracing , tweaking and lo behold the stamp gets cuts out so beautifully.
So here is my 1st copic adventure. I am rather pleased with how it turned out.
I am in love with both silhouette and copics. My only grouse is after being used to a large canvas ie in watercolor paper the size 15 x 30 - the real estate for coloring has grown teeny :)
The stamp used here is a free digital stamp from http://bodilsscrappeverden.blogspot.com/
The view of the silhouette studio window

As you can see I added 2 images to color just in case. Note that the image is cut off above the ankles.
Nope I did not do the cutting - the image came that way. After coloring and mounting the image onto the label background I decided that it needed something so yep I added some grass cut out by hand ;).
and tucked her missing parts under the grass lol. The whites on image are from gel pen
The button was a just a plain old pastel yellow button but I jazzed it up (or down) with copics - red around the rim or lip and gray under the lip and white gel pen. Looks coordinated now doesn't it?
I first saw embellishing the envelope at LorraineB's http://cardcreationsbylorraine.blogspot.com about a year back and since then I have started to add borders to envelope. I alsolike to take it one step further and add a border to the inside of the card as well and also bring a bit of something out to the envelope front.
Here is one more view
Here's the inside of the card
Hope you liked the card.
If you are upto a Challenge!
Then
Allison (from Goody Bag Diva) and Caroline (from Caroline’s Craftography) are thrilled to announce their new challenge blog – Paper Craft Weekend Challenge! You can expect a challenge with a project to inspire... you every Friday and Sunday. The only rule they expect you to stick to is having fun! The challenges won’t be limited to one type of machine or project – so get your materials and get ready to use your stuff. There will be some tutorials along the way – and it wouldn’t be any fun if there weren’t friends occasionally stopping by – so please come join them and get ready to get your craft on!
September 1, 2011
If you are upto the Challenge
Then
Allison (from Goody Bag Diva) and Caroline (from Caroline’s Craftography) are thrilled to announce their new challenge blog – Paper Craft Weekend Challenge! You can expect a challenge with a project to inspire... you every Friday and Sunday. The only rule they expect you to stick to is having fun! The challenges won’t be limited to one type of machine or project – so get your materials and get ready to use your stuff. There will be some tutorials along the way – and it wouldn’t be any fun if there weren’t friends occasionally stopping by – so please come join them and get ready to get your craft on!
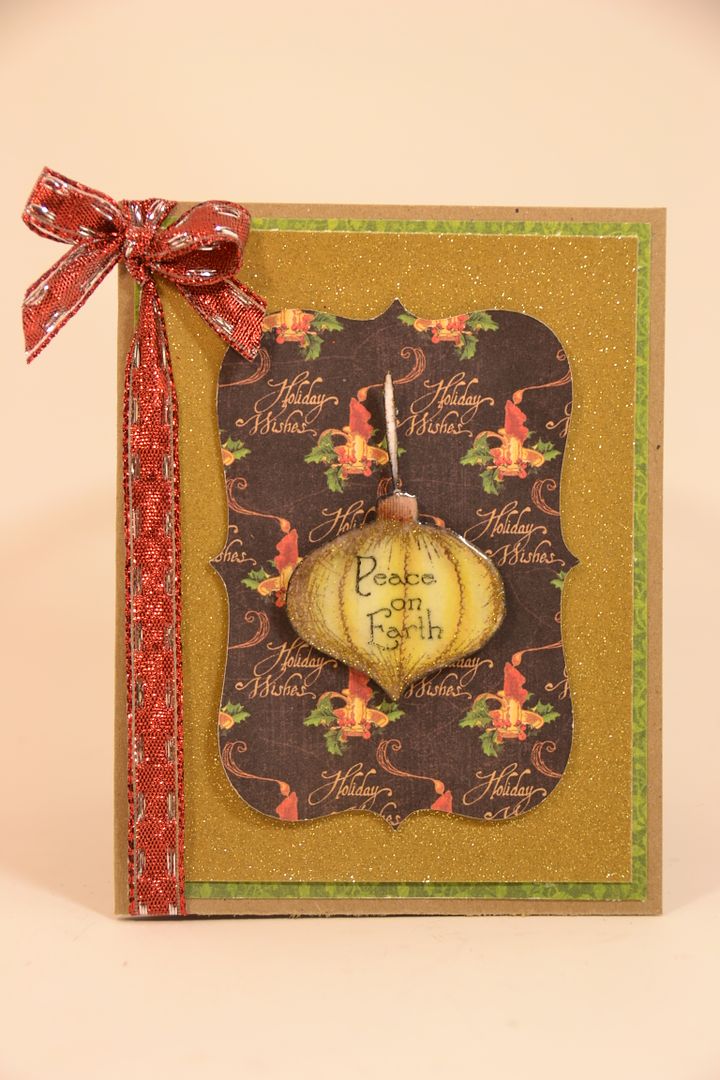
Peace on Earth Card
Hi everyone! This is Elizabeth from 217 Creations. Can you believe August is over?!?!?
Thanks Pam for having me over to play today!
My kiddos have been keeping me so busy! I figure September is here so I better start working on my Christmas cards in order to be able to send them on time this year. So my plan is to hopefully make a few each week and then I won't be stressed. This one is a pretty easy one to make in duplicates.
Thanks Pam for having me over to play today!
My kiddos have been keeping me so busy! I figure September is here so I better start working on my Christmas cards in order to be able to send them on time this year. So my plan is to hopefully make a few each week and then I won't be stressed. This one is a pretty easy one to make in duplicates.
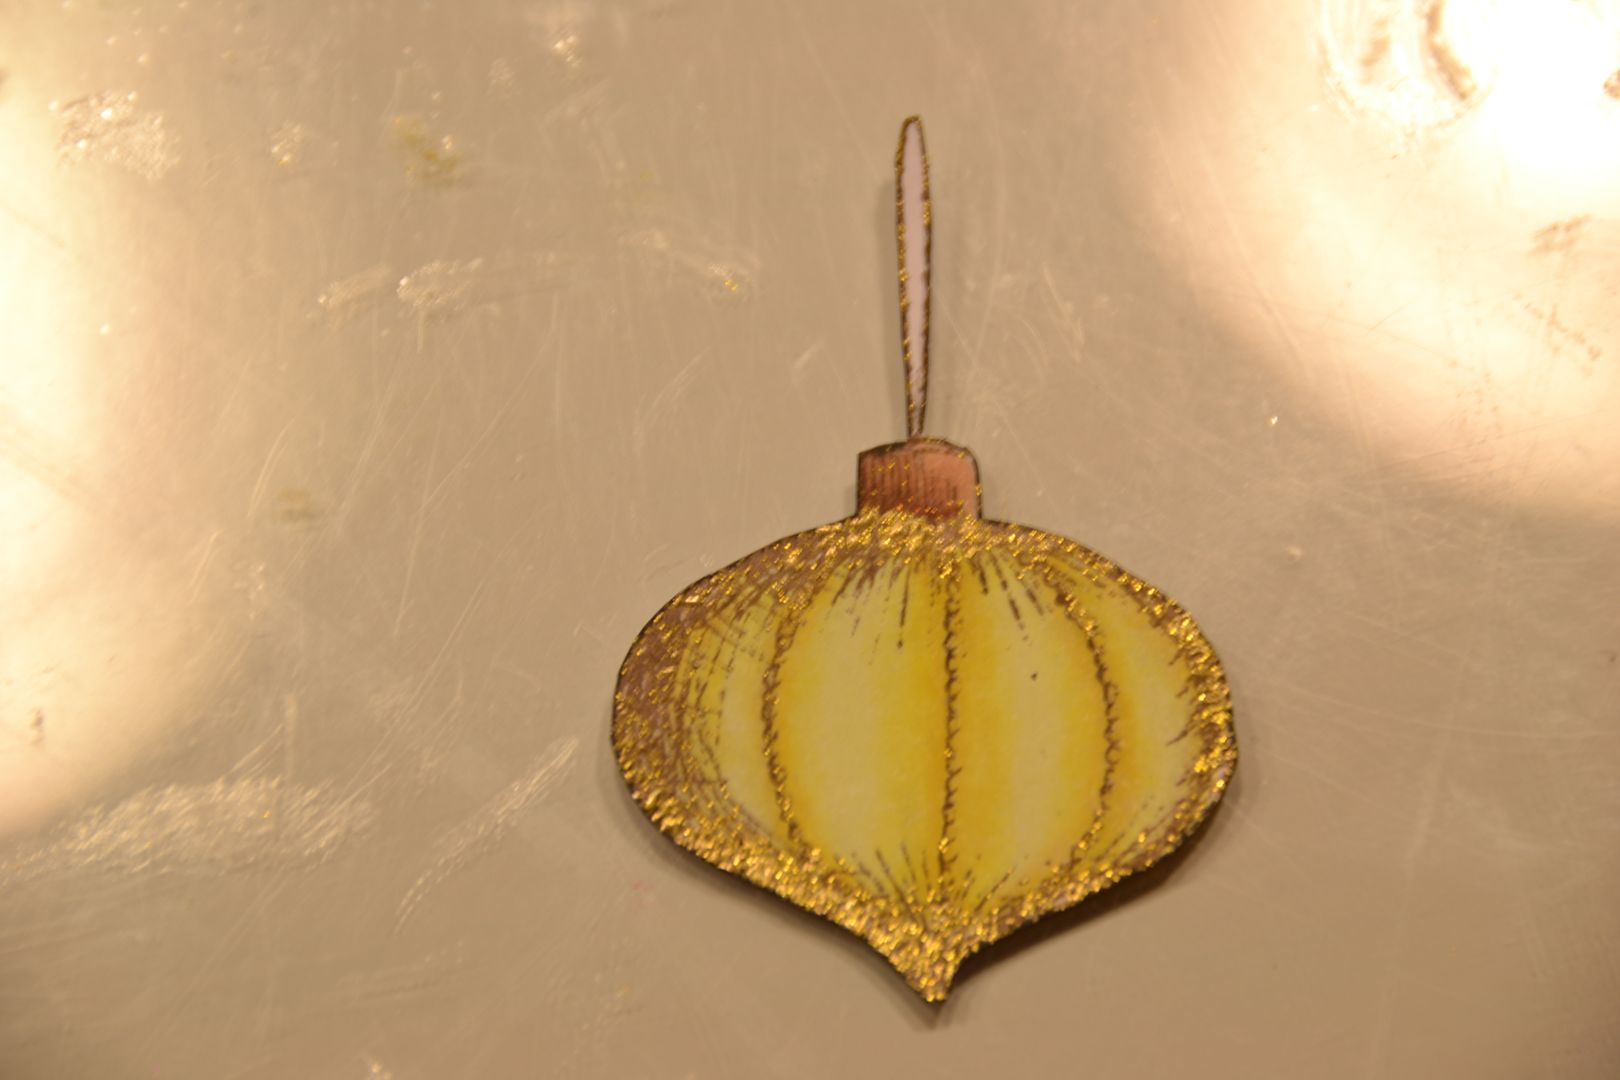
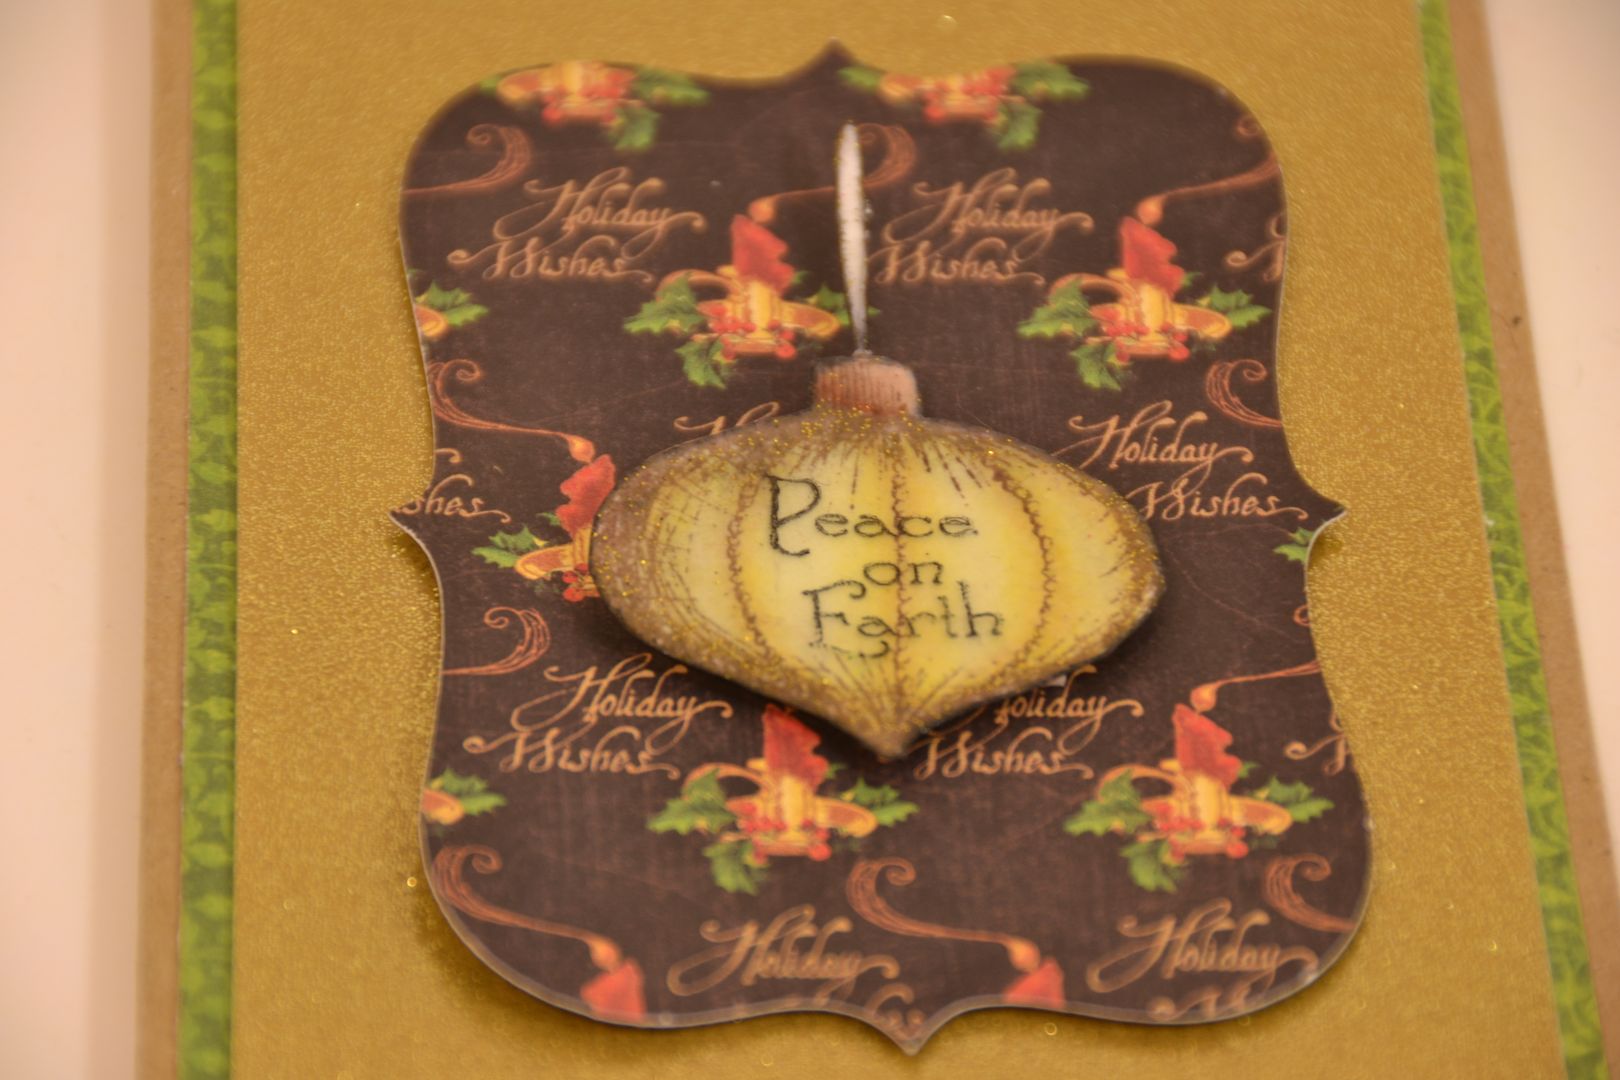
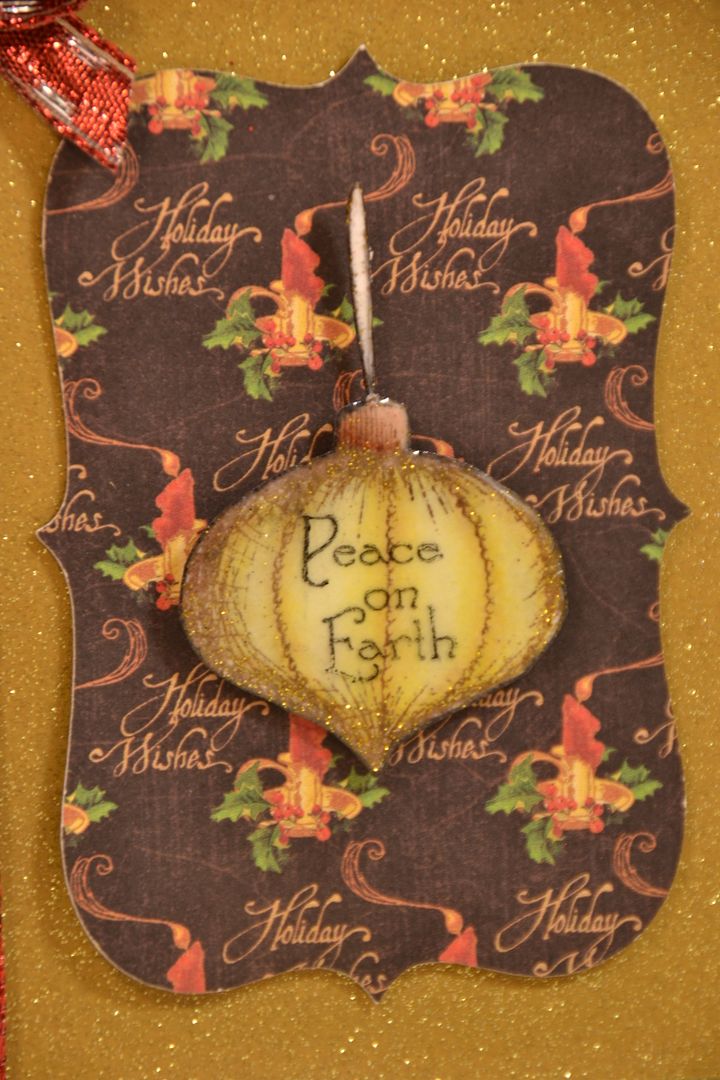
I started by stamping this image from Pink By Design Stamps with Memento Ink and then heat embossed with a gold ultra fine glitter embossing powder. I then colored the image with Copics. I am still learning but my blending is getting better.
This is a sneak a shhhhhhhhhh!!!!!! This stamp set does not release until tomorrow.
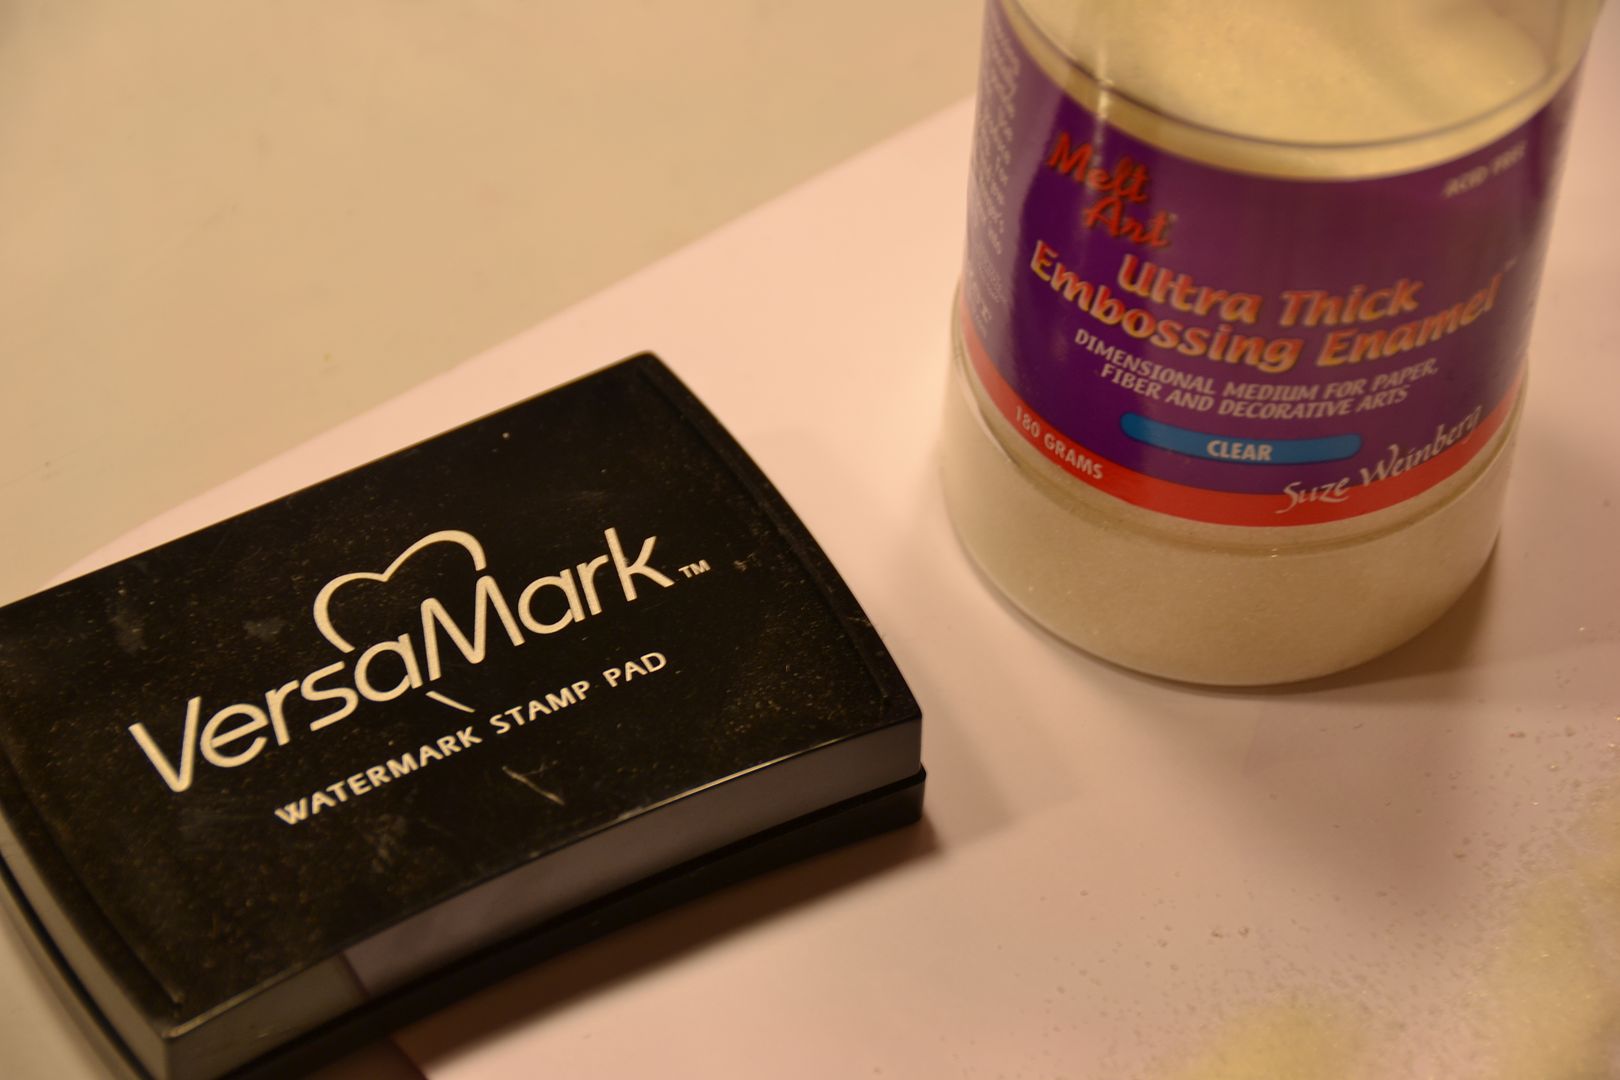
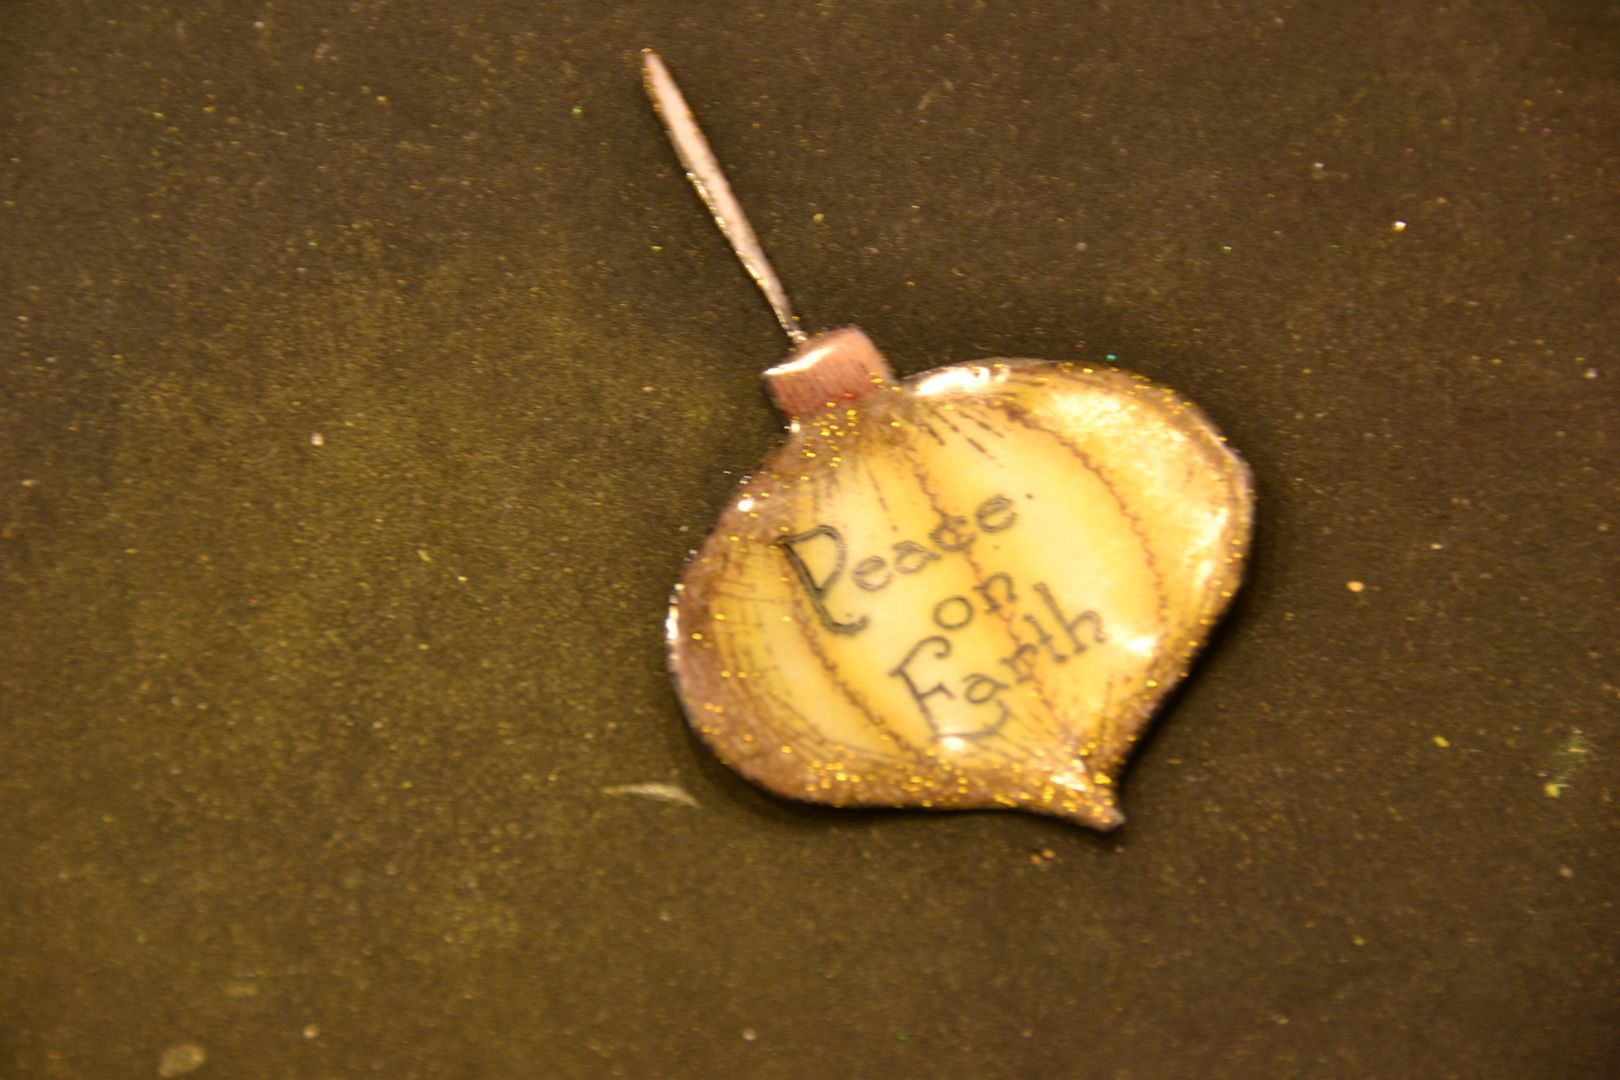
Next I used Versamark embossing ink and Ultra Thick embossing Enamel (UTEE) to make the cut look shiny like epoxy.
Then I stamped the senitment "Peace on Earth" it is also from the same stamp set from Pink By Design.
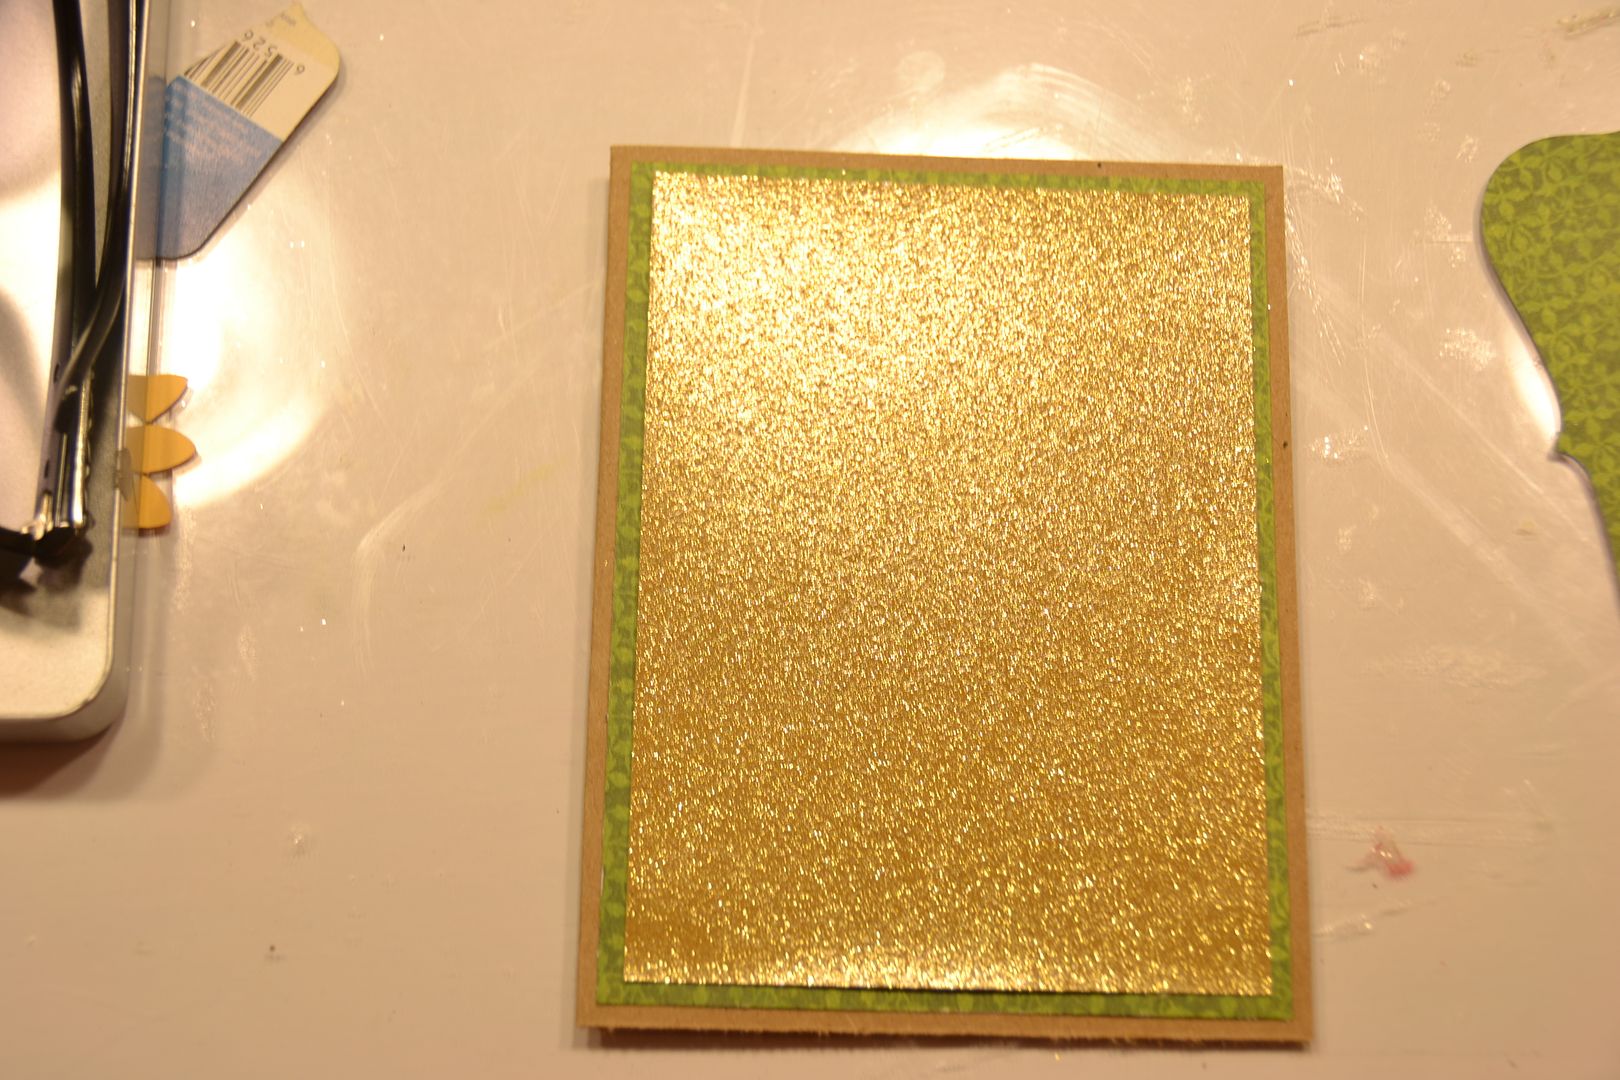
I cut my card base from Kraft paper and the mats are cut from Christmas Emporium from Graphic 45.
Next I cut a 3inch top note shape from Imagine and added my stamped image on top.
My final step was to add some ribbon to the side.
Here's a nice close up the stamping. I love this card. I made a few more while I had the free time.
I hope you liked the card today. As always, thank you for commenting and following both here at The Bug Bytes and also on my personal blog at 217 Creations.
Subscribe to:
Posts
(
Atom
)