f The Bugbytes

Welcome - Copyright & Disclaimer

We are moving from custom domain back to blogspot. If there are broken links please try adding blogspot.com instead of .com. Welcome to The Bug Bytes - a blog mainly for Papercrafting and some photography and other stuff thrown in here & there. Add in some die cutting machine, scrapbooking tools, cameras, scissors , glue and...... My name is Pam. If you have been redirected from papillondigitaldesign.blogspot.com you have come to the right place.Hope you get inspired by the projects, videos and files. Would love it if you could leave comments and become a follower. (Word verification is turned ON to avoid spam. Sorry for that inconvenience.) Would love it if you would also share your project here . If you find a linky under the post do share your project by posting link there or if you do not find a linky post your link in the comments.Thank you for visiting.

October 19, 2010

Caching Patterns with Imagine

Wasn't that a Haunted House tote or what by Audrey. What a marvelous idea and yes the gypsy danced!! (as sassy says. Shhh.. don't tell her or nurseviper aka Dawn that I still believe think of gypsy as a machine and it is definitely an "It"

Now dont you know cool things have to happen when I have no means of testing them. Life sucks!! or rather Imagine sucks!! :)

Well I guess there is a way to cache patterns. This is directly from Cricut offical page - under discussions. More a post to myself so that I can get a hold of it easily

"
Cricut - The Official Page! Steps for Caching a Pattern:
1. Select Print and Cut from the Main Menu.
2. Insert the Imagine cartridge that contains the patterns you want to cache.
3. Select any image and edit it by clicking on the pencil icon to go to the Edit screen
4. Find the pattern you want to cache, select and hold your stylus down on the pattern.
5. A small box will pop up saying, “Cache Pattern.” Select it to cache the pattern.
6. You will see an hourglass symbol for about 10 seconds while it caches the pattern.
7. Drag the pattern scroll bar until you can see the cached pattern to the right of the cartridge color pallet. You will see your cached pattern. 

Steps for Using a Cached Pattern
1. To use your cached pattern select the image you want and edit it by clicking on the pencil icon to go to the Edit screen.
2. Select the cached pattern and it will be added to the image or layer you selected.

Steps for Deleting a Cached Pattern
1. To delete a cached pattern select and hold your stylus down on the cached pattern
2. A small box will pop up saying, “Clear Pattern.” Select it and the cached pattern will be deleted in a couple of seconds.
3. Also, simply turning off the Imagine will delete all cached patterns.

"

A HAUNTED HOUSE "TRICK AND A TREAT" TOTE

Happy Tuesday, everyone!!! 

This is Audrey and I'd like to say thank you to Pam for having me back.  And, if I haven't already said so, it's wonderful being a DT family member.  Before I share this project I need to say, unfortunately, I found out when I posting that several of my tutorial pictures were corrupted, don't know how that happened but so I am going to do this tutorial as best I can with what I have.  However, if it appears I've missed any steps and/or something isn't clear, please comment your questions to me and I'll be happy to answer them.

I waited until the last minute because I really wanted think of a Halloween project in keeping with the Halloween theme eventhough I don't have the "Happy Haunting" cart.  I pondered ideas but only came up with this just last evening when I ran across a witch  on the "A Child's Year"  cart.  This gave me something to work with and so I began constructing my project.  I hope you like it.

This is a Haunted House Tote. The complementary characters represent the trick, but inside there's candy and gum -- the treats!  I'm calling it a tote because I've added a handle to it so that you can pick it up and carry it.  Here are pictures of the finished tote opened and closed:


I think the skull looks a spooky through that window, don't you?!!!  LOL!

These are a couple of close-ups of the inside of the tote:


Now, I'll show you how this tote came together.  I first cut out all the parts from the cut.file I created, and next I scored, folded and glued the tote and the boxes to complete them:


After I'd constructed the tote and the boxes, I starting adding all the elements: the candy and gum to the boxes, a skeletal frame to the coffin box and a few more embellies and accessories I purchased at a local Dollar Store:


To keep my tote closed after it was completed, I simply added these small magnets which snap together on the front end flap and back end panel; but velcro will work as well:


Now that I'm done, I'm thinking what a great centerpiece this would make at a Halloween party; and the DH and I been invited to quite a few, soooooo...  all I have to do is just grab it by the handle and go:


How fun is that?!!!

If you're interested in the cut.file to do your own, I've provided a cut.file on my blog for today.  You can go there by clicking on my name, highlighted, at the beginning of this post which is direct link and then download the file from the bottom of my post.  The carts used for this project are:  George (tote and boxes); A Child's Year (witch); and, Plantin Schoolbook (word "Beware").

Well, again, I hope you like my project.  And, thanks so much for stopping by!!!  We loved having you!

Altered Martha Stewart Favor Boxes

Happy Tuesday everyone!  This is P-Kay Sunshine and today I am showing you an item I altered for Halloween.  Last week I started looking at my cartridges for a goody bag or box to make to give to the kiddos at Sunshine's (my 3yo DD) daycare for Halloween.  I wanted something easy to make because I needed 20.  I looked through my carts then I looked through my "supplies" and I came across these boxes.  I purchased these last year from Big Lots when they had all of the Martha Stewart wedding stuff on clearance.  There are 20 in the pack...just the amount I needed.  Now I just had to find a way to alter them so they are Halloween themed.


I started with some ink.   I got my studio G ink and a dauber and started to color the box orange.  There is a little white bow that I removed from the front of the box.  I did not color the inside of the box but I made sure to include the sides.


It covered fairly easy and quickly.  Now off to my gypsy to see what images I can use.  I wanted to cover the clear window.  Don't want 3 year olds to see their treats.  ;-)  The box folded is a little over 2 1/2 inches.   I used the pumpkin from Gypsy Wanderings cut at 2.5 by 2.3. 


On another page I added the shadow with a spider from Designer's Calendar and bats from Paper Doll Dress Up.  For the bats I removed all of the score lines that showed the eyes and accents on the wings.  I did this because the image is so small - only 2.5 by 2.25 and the lines barely cut anyway.


The spider was added onto a square on the inside of the box to cover the see through window.


The three welded bats were added to each side of the box and I accented the face and wings with my white gel pen.

A little inking to the edges of the pumpkin and some pop dots to add dimension to the pumpkin finishes off this cute little treat box.  ((Probably overkill for a bunch of 3 year olds but Sunshine loved it! ))


This was a quick, easy and fun way to make these cute little boxes fit a Halloween theme.  I am sure they will be a hit at daycare.  Thank you all for checking out my project.  Be sure to visit me at  P-Kay Sunshine Creations.  Have a great day!

October 18, 2010

Gypsy update version 1.4 (0202:0203) & Imagine should be Version 1.01 (0096:0012:0239:202A)

At last we can link celebrate with Flourish and the update number is version 1.4 (0202:0203) and Imagine should be Version 1.01 (0096:0012:0239:202A)


Whew!!!!!
Now what else does it do.
This is a firmware updates can it communicate with Imagine? well as I do not have an Imagine yet? (and do not know when my 3rd replacement will come) - you tell me.

Admin Darryn

Yep I was all prepared to shout at whoever picked up the phone and ask for the manager as my return label has still not come and my son is ill and I have a doctor's appointment which I had to fix for afternoon as you know how long it takes to hold the line. And then....
I got Admin Darryn on the phone and all my anger was diffused. He was so nice and he apologized . BTW there was no record of my Friday phone call. Grrr...
He is trying to fix this for me.
He raised my hope back a little though I would still like a WORKING PRODUCT FROM DAY 1 FROM PC!!!

Now I feel a whole lot better after I shouted the last line.[lol]

I know better than to be angry at the customer CS for PC's mistakes as these are people who just work there but this time I was justified I think as ha ha - my call was not in the database!!! And if I had not called I would have waited and waited!! Well until atleast Mike's arrival in Houston. I could always hold him for Ransom right :) Then all circle members and PC would have ensured that I got a working Imagine pronto :)

October 16, 2010

Vegetable puffs

Say what ? Say what?
Hmm have you accidentally dropped into a cooking blog?
Nope. This is me refraining from using G or cricut or cuttlebug!! I am still miffed because of my Imagine and when I get miffed I get royally snobbishly miffed!! So I did some cooking. Guess who was happy. Yes! Hubby. Not only is he dreaming - I can tell you I can see the thought bubble floating above his head - thinking " Yeah not  only can I save money and watch my bank balance stop getting depleted but now I have my wife back and I get yummy food!!" Men - I tell you. I know how his gears spin!
So yep I did some cooking - some Indian cooking

Here is vegetabe puffs -my own adaptation

Ingredients: (not an exact science /measure just throw in ;) )

Potatoes - 3 - 5 large (well 1 and 1/2 ended in my dogsstomach ;) ) - boiled (with salt added in the boiling water)  peeled and mashed ;
Onions - 2
Cilantro leaves
Salt
Tomato - 1/2
Oil for seasoning
optional - turmeric (a type of food coloring powder which is a herb and naturally acts as antiseptic - used in the old days to protect the body from effects of weavils etc in the food . Not only do they actually repel them and ants the turmeric is so good for body both externally and internally.
Mustard seeds (yep it adds a lot to the taste buds so go visit an Indian store)
Bengal Gram Dhal (a type of lentil - optional but yum!! Now are you going to that Indian store yet? )
Puff pastry sheet (you get a dozen out of 1 box)

Well if you are running to Indian store go get the mango pulp can too and you can make a yummy mango milk shake to go with it

Method:

Boil, peel and mash the potatoes. I use a steam pressure cooker and add salt (about 1 - 1& 1/2 teaspoon )while boiling ( I also add turmeric 1/2 a tsp - that gives it the yellow color and the salt sinks in and makes the potato yummy! Dice onions (after peeling the hard flaky skin of course) and some cilantro leaves too. Dice 1/2  tomato. Meanwhile keep the puff pastry sheet outside to thaw (takes about 30 mins).
Take a saute pan and add oil. Now be careful - we Indians are pretty much used to this step. But if you feel uncomfortable avoid this step. We add mustard seeds and allow it to sputter. If you are not used to this yu will get singed with the splattering mustard's. Better to close the pan and use your ingenuity if you are a brave one. Adda tbsp of Bengal Gram Dhal and when it also gets slightly red (now you can avoid these 2 steps as they are optional and only for the brave). Add onions. Saute it till it turns slightly brown and then add the diced tomatoes. Fry it for a while and then add potatoes. Salt to taste and finally Cilantro.We add spice too diced green chilies but you can totally avoid that. This process can take about 5 - 10 mins.Allow it to cool.
This is the stuffing folks if you can handle it. Looks like this.Now you knew I would have step by step pics didn't you?


Now take the thawed sheets.


You have 2 folded sheets. Each sheet is folded 1/3 rds. So spread it out and cut into thirds and then each 3rds into halfs again. That gives you 6 rectangular pieces. Spoon in the stuffing and fold and crink the corners


Place it in the oven to bake at appropriate temp following the instructions on the pastry sheet box


Mine said 15 mins at 400 degrees .At the end of it we get yummy golden colored vegetable puffs - Yum!!!


Now if you have mango pulp can and some milk and some sugar whip up a milk shake (you can use just 1/2  a can for this) . It goes so well together! Wow what a meal!! So that was dinner tonight for us folks. One happy hubby and kids I tell you..

Imagine Troubleshoot

Just like the Gypsy sync has troubleshoot so does the Imagine. But I think it needs to be fixed a bit.
You can download the Imagine update only for PC users at http://www.cricut.com/imagine/support.aspx
And do we need to do it. Gypsy suers - yes as this prepares for the Gypsy. And guess it is now postponed to November 1st or 3rd. Well. And not only that I do not know why as the cricut E does not need new cartridges update and in Imagine too we connect the cartridge in the side unlike the G where the cartridge info is already on the G but the new cartridges like Happy Haunting needs this update.
There is 2 parts to the update - a firmware part and the content part. Preferably do it from the Application launcher screen or the about screen. If you do not have success the first time keep trying.It should switch off and then reboot. As I said try more than once. In mine the firmware portion went on well enough but the content did not happen and kept switching off and after the firmware update the Imagine kept going to welcome screen. So I did the troubleshoot.
Before the update - the version was 1.0 (0066:????:0239) and after the firmware part of it the version was 1.01(0079:????:0239:201G). But I do not know what it will be after content part of it until my Imagine comes back
 Here are screen shots while I was doing it.


And it just went to the next screen and before I could capture the screen it conked. Imagine just switched off. The ink cartridge flap was up so sadly I could not even retain an extra ink cartridges both the rounds for all my pain.. And lifting this thing  - guess who needs to go to the physiotherapist? It is so time consuming waiting in those hospitals!! I hate being in a hospital -I should add as a patient!! Being a doctor is another matter and if not for my brother and mother would have been one. Hmm see it shows that one should always not be good and listen to your mom and siblings. I would have most probably been saving lives and saving myself this frustration :) having most probably been too busy to have heard of cricut:)

October 15, 2010

Guess what folks my 2nd Imagine conked

It failed to update the content part of it. firmware went on well but no content and so no using happy haunting. And then 4th time it went to the troubleshoot (which also can be got from cricut sync - Help ) it started and then it just shut off before completing the process and that was it.It goes on but all  I can see is the print,cut screen with that big ugly (yes I am in a foul mood and I am so soured that the bug is ugly. No cricket better come near me.I am in a swatting mood!! Grrrr...)
And yes called PC same old wait from 9:30 to 11:30 and then answered and put on wait while the person went to check. I do not know what as I could have told her.. but then came back and said expect within 48 hours which will be well tuesday by the looks of it and then 1 week for it to go and god knows how many weeks for it to come back!! And then heavy lifting again to 1st floor. Well I guess the Imagine should only be for weight lifters and not us scrapers. Most of us are 30 - 40 or older. Don't they know that?
I hate PC now so no touching G or E even.With my luck even that will conk!!

Border Pleated Flowers

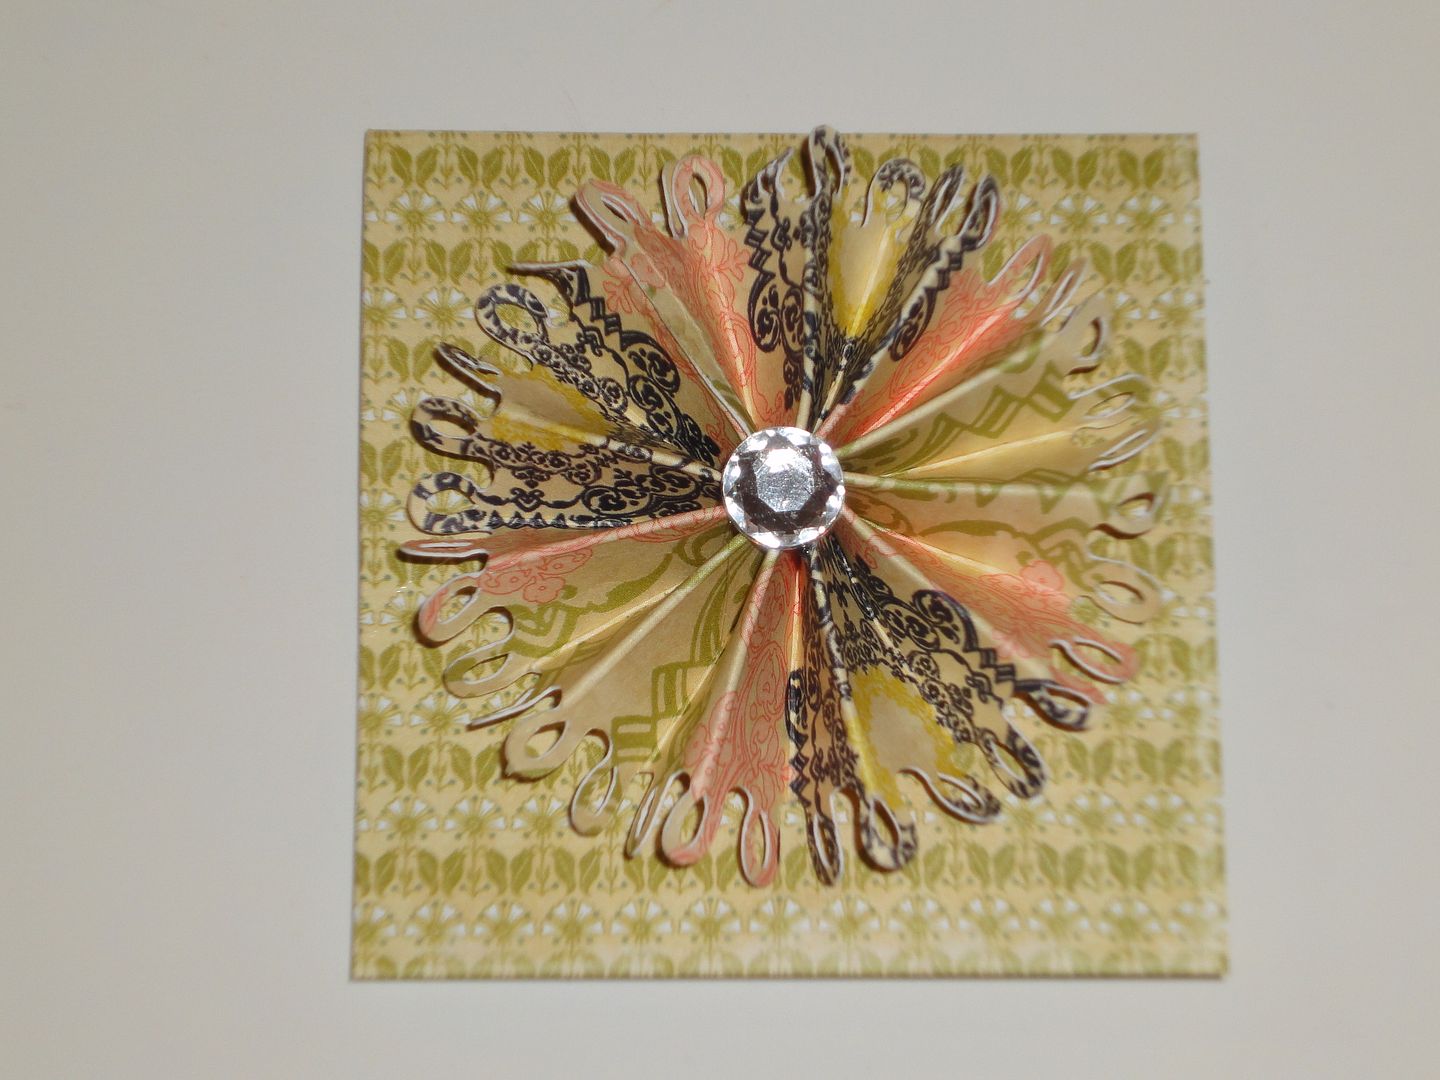
Hi everyone! This is Elizabeth from 217 Creations. Last month I sold all my border punches at my local scrapbook store's garage sale.  In return I got a large in store credit that I have been very happy to shop with lately.  I am a bit sad that I no longer own those punches.  But what it has forced me to do is to make better use of Cricut Cartridges and my Gypsy.  Pleating is all the rage right now in papercrafts.  I am always looking for a way to add dimension to my projects and pleated flowers are so elegant. 
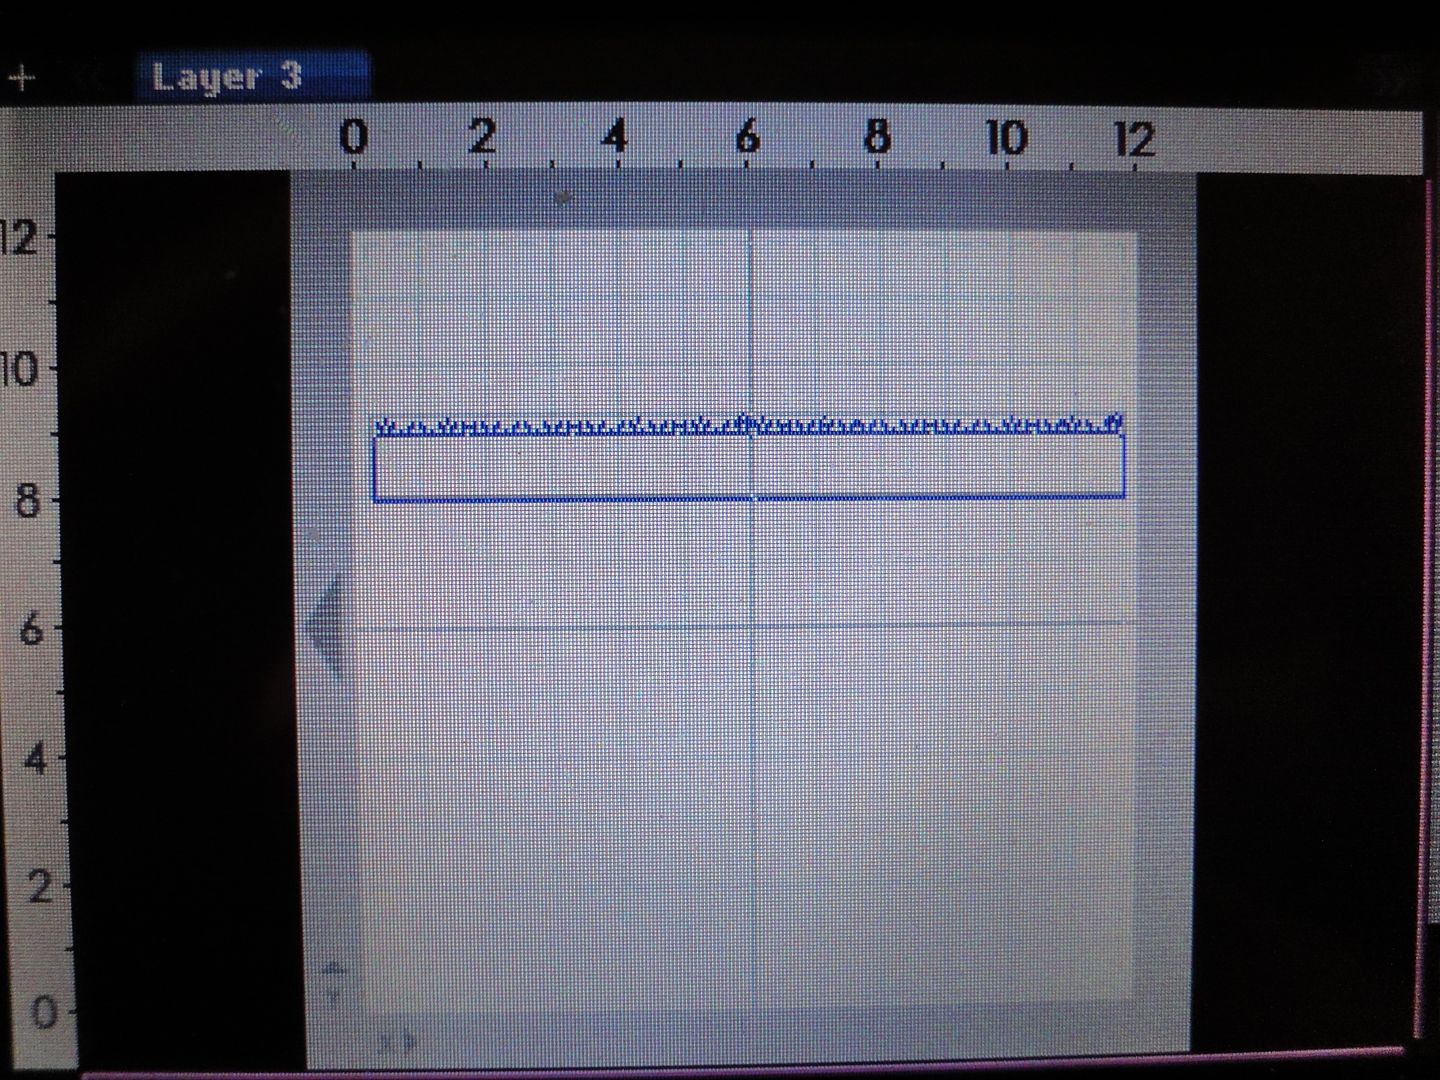
This is what the Gypsy file looks like:
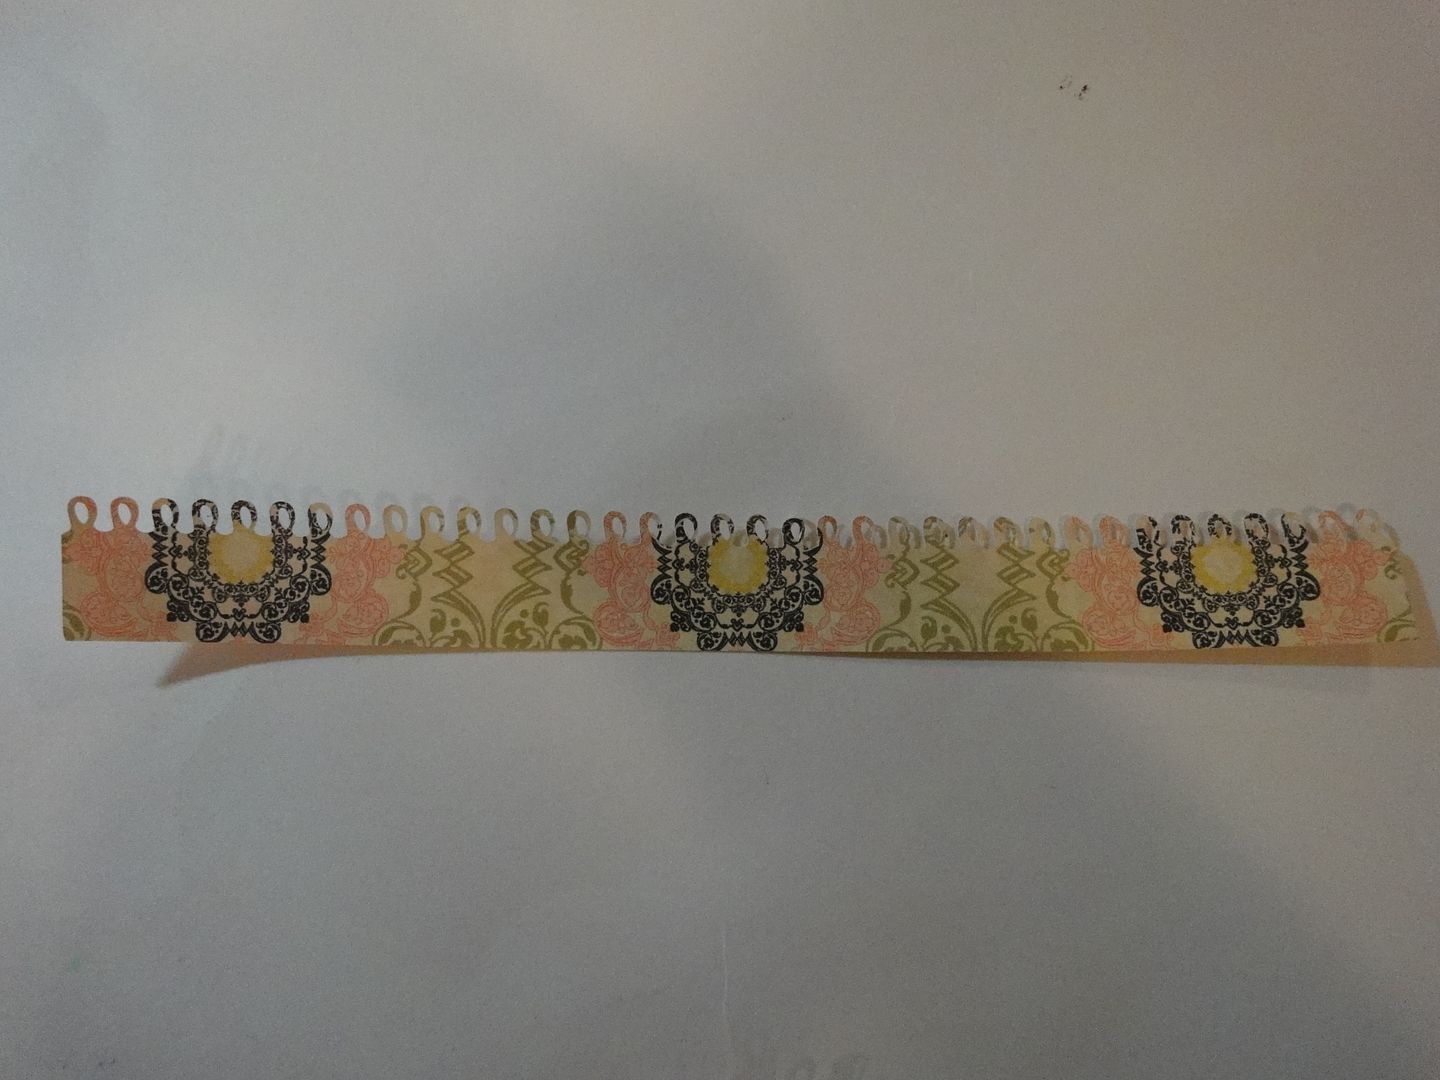
 This what the file cuts from Martha Stewart Elegant Cake Art at 1.26 inches by 11.5 inches.
 If you have never played with borders or would like to learn how to make a border quickly, watch this video.
Follow this link for a photo tutorial and a list of cartridges with borders! 
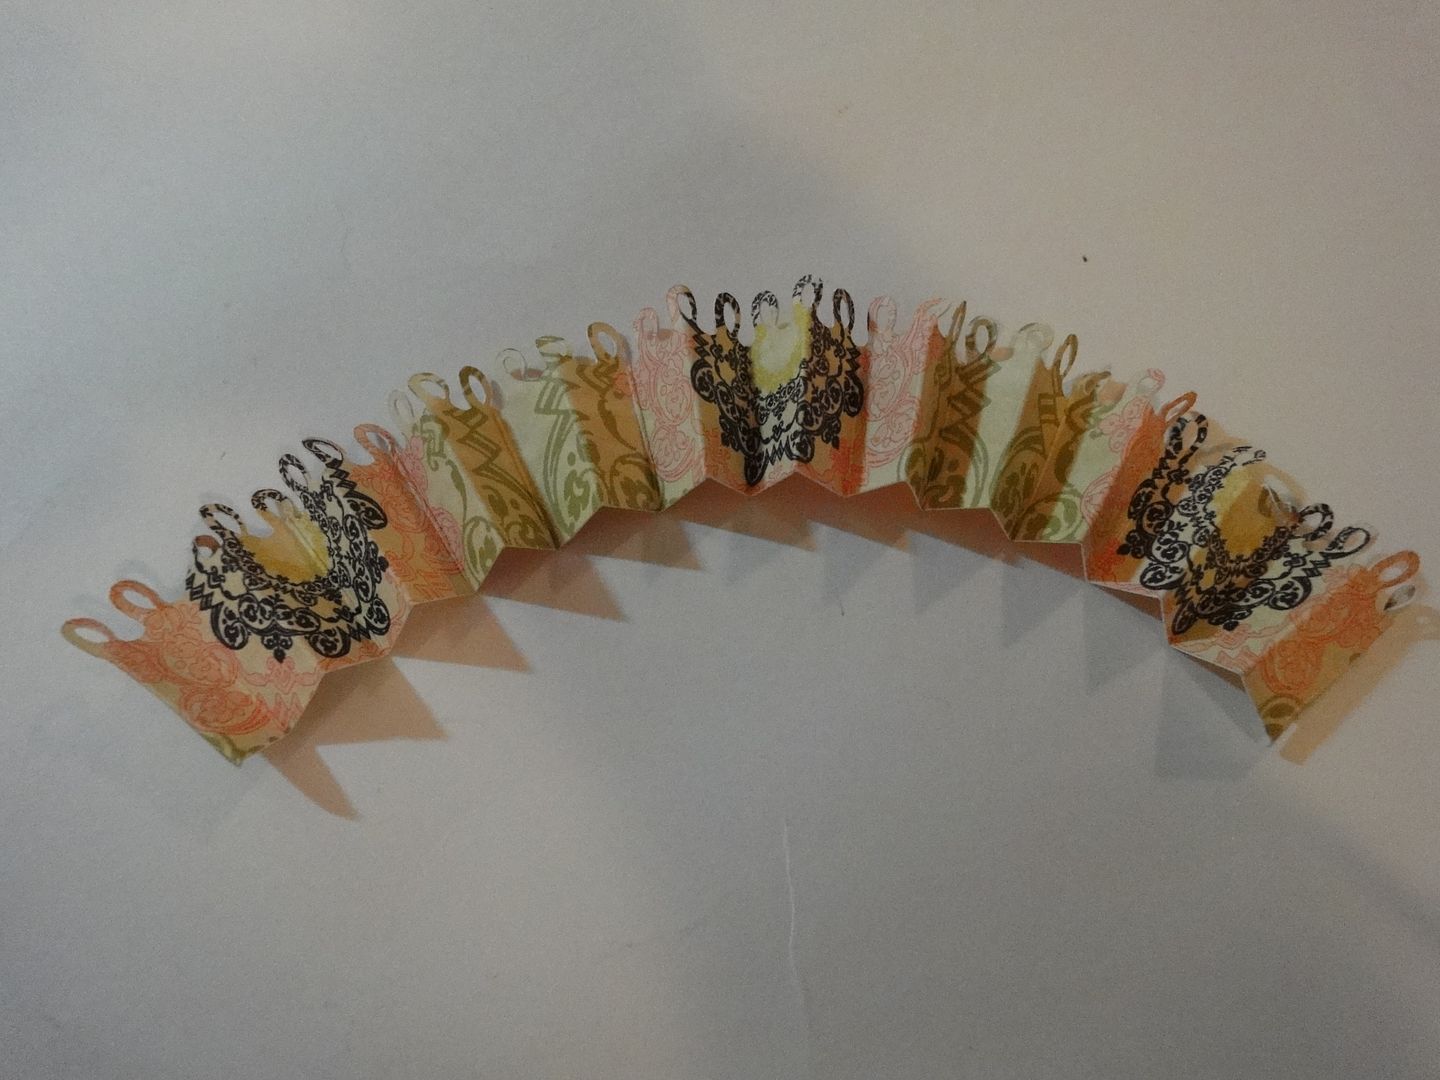
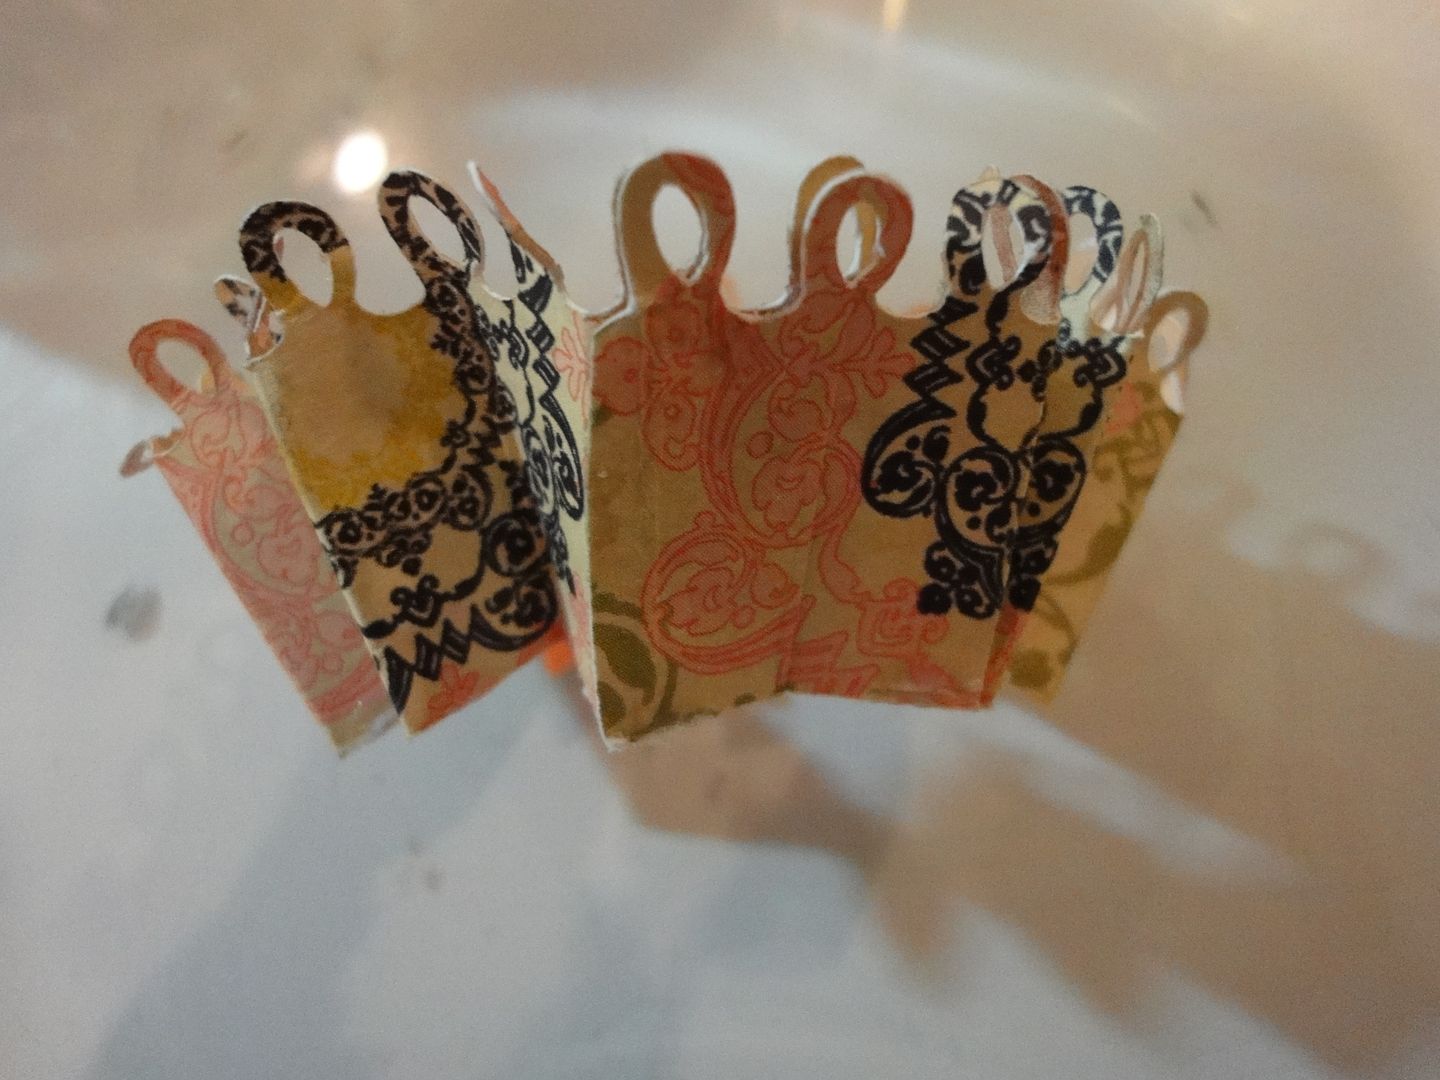
Once the border is done cutting, I used my Martha Stewart Scoreboard to score at 1/4 inch on either end.  Then I scored at 1/2 inch all the way across the strip.  Then I followed the pleats, folding it all together back and forth and back and forth. The paper is from Webster's Pages- Life Beautiful.
Then I took the ends and hot glued the two ends together, lining up the the loops.
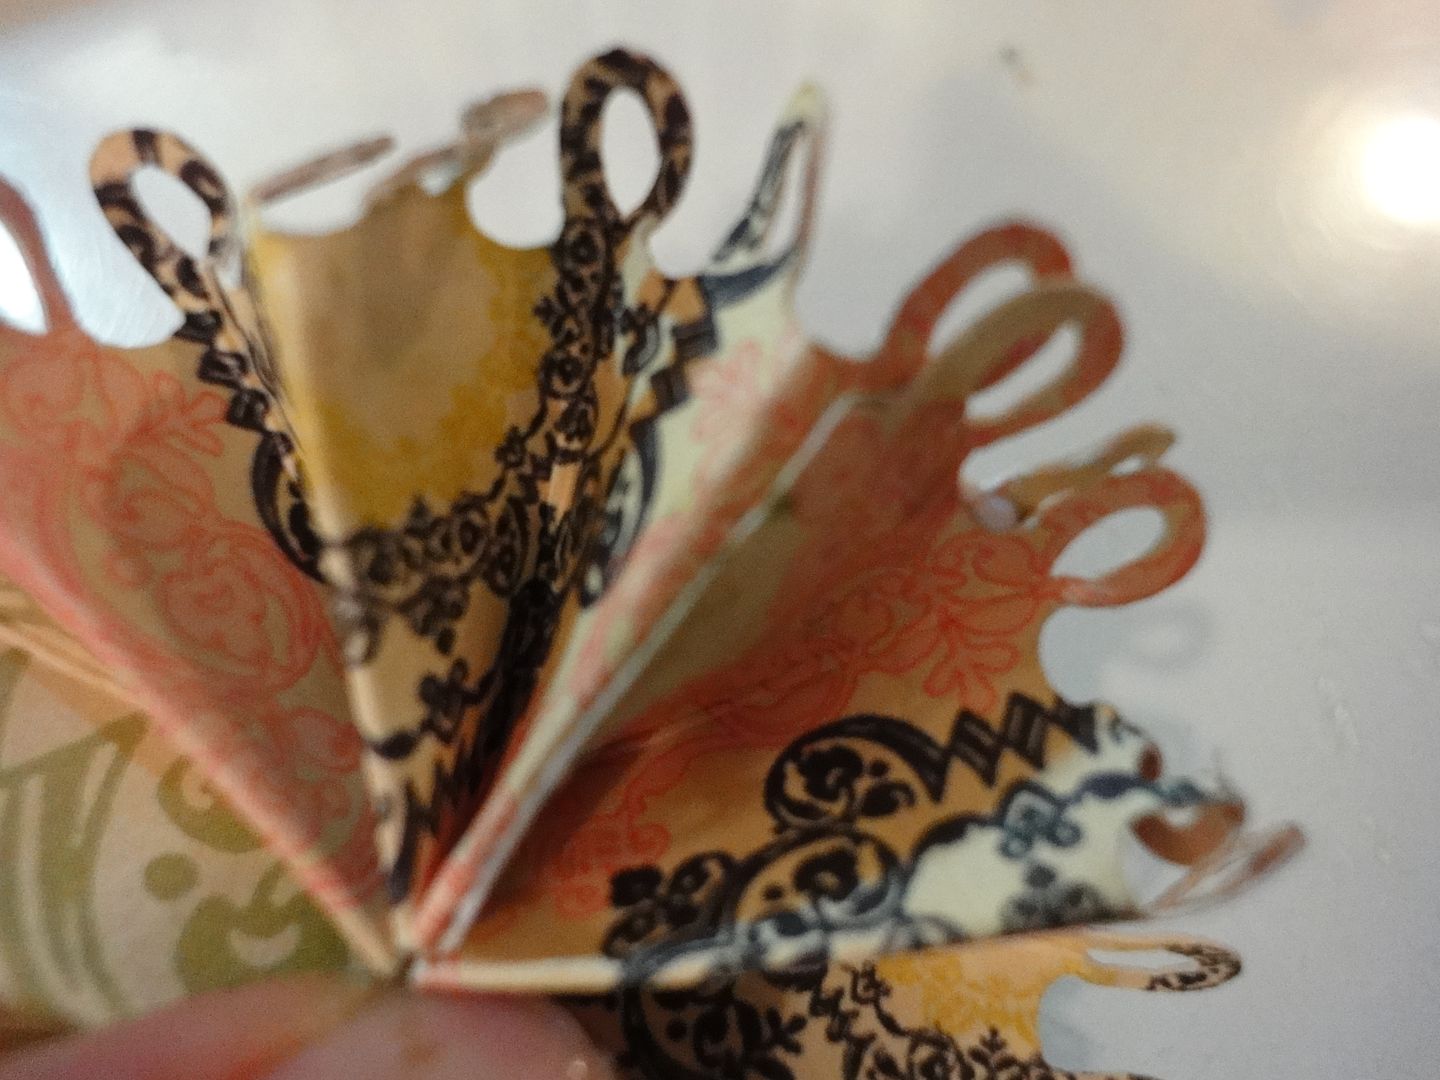
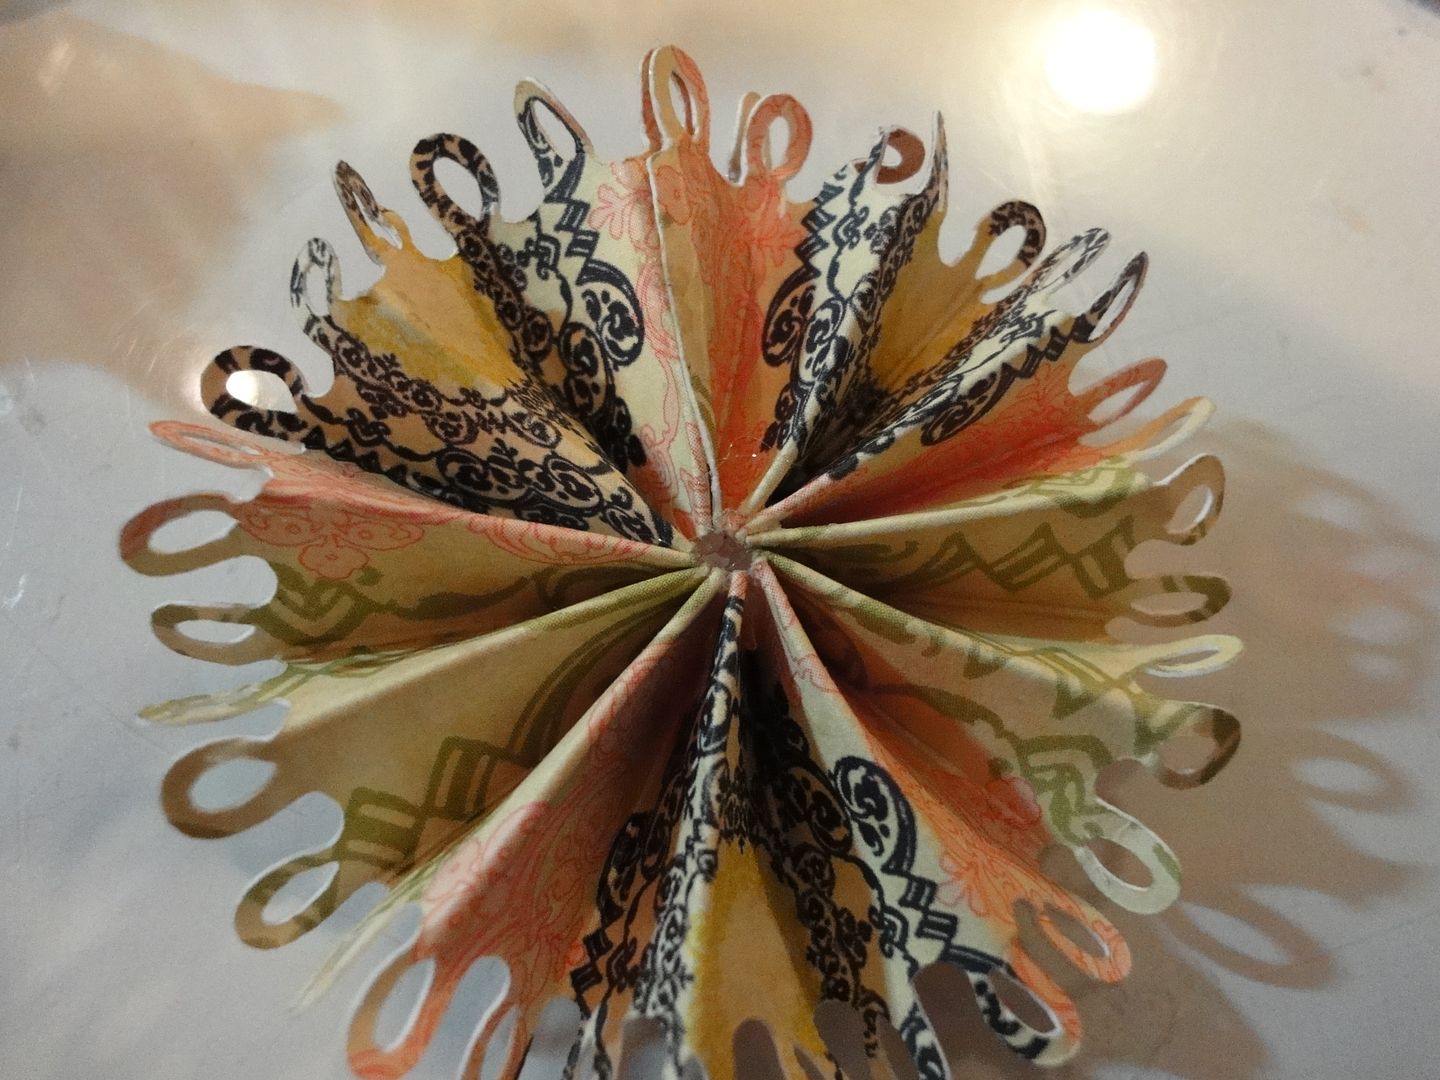
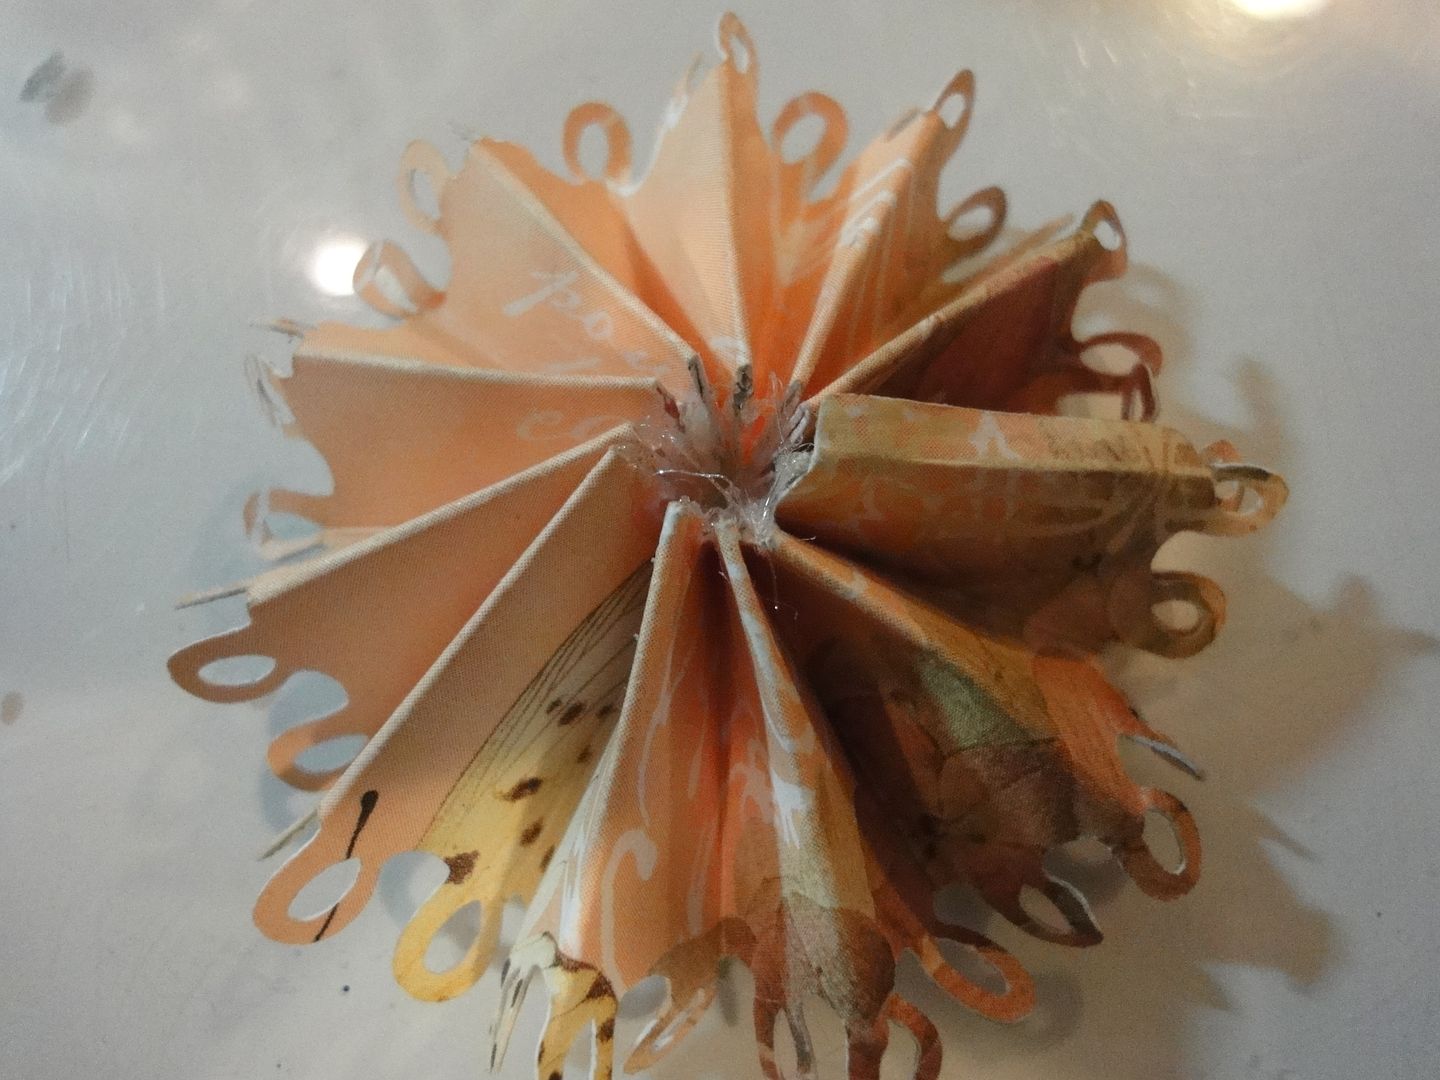
Then I took the hot glue gun and placed a thin layer of glue across the inside of the pleats.  Then I pushed them together in the center.
Then I turned the flower over and placed a small drop of hot glue in the hole on the back, pressing firmly to close it up.
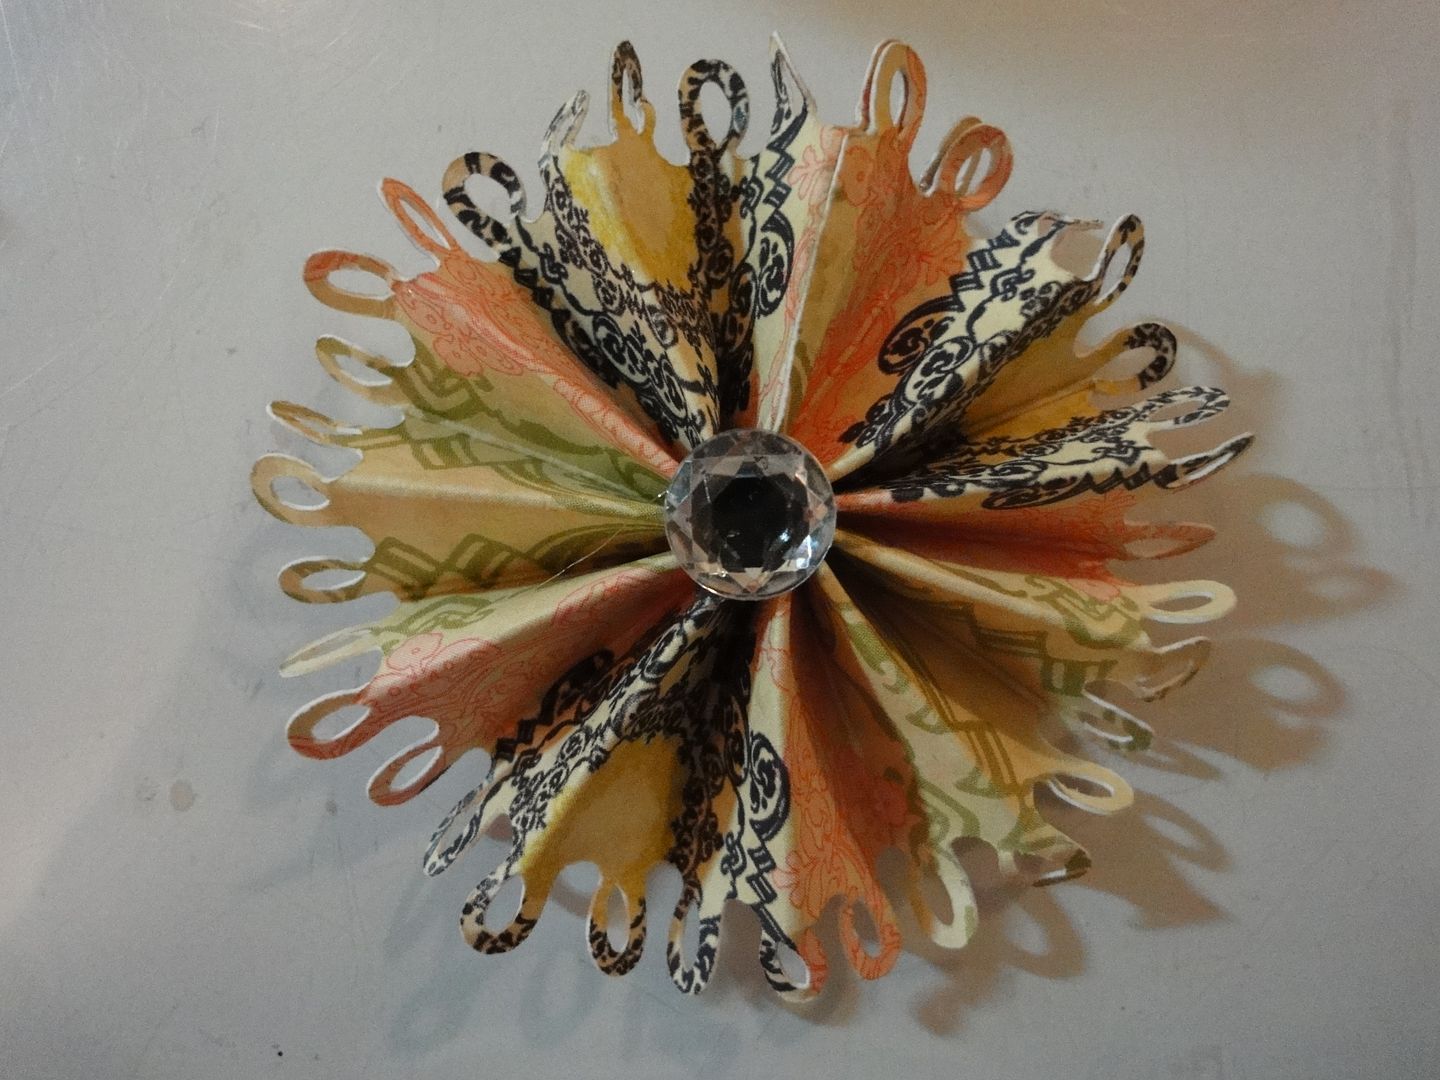
Once it was dry, I took a small rhinestone and placed it in the center to conceal the glued pleating.
I added this flower to a 3x3 mini card.  These flowers would look great on layouts, cards, and boxes.  Try playing with different borders to change the look of the edge.
If you would like the free Gypsy file please feel free to visit my personal blog for the file: 217 Creations.  As always thank you taking the time to comment and follow both here at Tuesday Treats and my personal blog 217 Creations.  It means so much to me!

October 13, 2010

Admin Kerri, Admin Becky, Makeupgirl217 , Phlenin and all the familiar MB members

I have interacted with these people over email and each are dear to me but we never met in person. But it was so worth it all to see them face to face. Especially the two - Beth aka Liz aka makeupgirl217 and  Admin Kerri. We  email each other everyday. Many of you know Sheila , Mya, Beth, patty and myself are friends thanks too the MB. Ans so is  Kerri.. She was formerly Admin Kerri and patiently used to answer any questions we have. A very sweet and gentle person.  She makes such beautiful projects especially with Justin's stamps. And looks at some of our pics in her blog (Big smiles from kbear).
http://bigsmilesfromkbear.blogspot.com/2010/10/provo-craft-cricut-swarm.html.
She is still in the circle folks. BTW it was her birthday that day at the swarm. Jinger's was the day before
What can I say. Phlenin we know from early gypsy days. And HeidiK - a familiar lovely G board Member and Sandy -  a bugbytes designer. So so talented!!! And lovely Amy!! Amy - I have your charm attached to my G and it is also starred in my video. Thank you sweetie.
Oh and higight was I met Jinger and what a dear she is!! She is beatiful and wears lovely shoes. She must have thought me strange when everyone else looked a her face I was looking at her feet lol