f The Bugbytes

Welcome - Copyright & Disclaimer

We are moving from custom domain back to blogspot. If there are broken links please try adding blogspot.com instead of .com. Welcome to The Bug Bytes - a blog mainly for Papercrafting and some photography and other stuff thrown in here & there. Add in some die cutting machine, scrapbooking tools, cameras, scissors , glue and...... My name is Pam. If you have been redirected from papillondigitaldesign.blogspot.com you have come to the right place.Hope you get inspired by the projects, videos and files. Would love it if you could leave comments and become a follower. (Word verification is turned ON to avoid spam. Sorry for that inconvenience.) Would love it if you would also share your project here . If you find a linky under the post do share your project by posting link there or if you do not find a linky post your link in the comments.Thank you for visiting.

October 7, 2012

Happy 1st Birthday!


Hi y'all!  This is MelodyR again from A Splash Here and There blog.  Thanks Pam for letting me "play" here again!   My SIL's twins were having their first birthday so I created this card to accompany the gifts we were giving them.  The inspiration for the LO of this card came from Unscripted Sketches blog (Sketch #178) where I will also be linking this project to - I had just recently discovered this blog and plan to use their other sketches for inspiration.   This card is 5x7 and all cuts were designed using the Sihouette Studio and cut with the Cameo.

I started by importing the LO sketch right from the Unscripted Sketches blog onto the Silhouette Studio so it was easier for me to refer to it (love that I can do this with the Silhouette Studio!)  As you can see with my finished card above, I actually turned the sketch on its side.


The baby images on the card were by Samantha Walker. I was feeling pressed for time, so instead of cutting the different layers of the babies, I used the print and cut feature.  Below is how the images look like on the matt initially.


Then I ungrouped the layers so I can color in the different layers to my liking.  I used solid colors, but you can do patterns if you have them in your library (purchased separately or those already included with your Silhouette Studio).  I made sure that I chose NO-CUT for the layers of the baby images, except for the outside layers only.


The pattern on the rectangular matt above is
purchased from the Silhouette Store.  And yep,
I am using a Cricut matt because I find it sturdier
than the Silhouette matt.


Here are some closeups of the finished card.  I used my mini sewing machine to stitch the patterned matt onto the white matt.  I cut a shadow layer for the baby images in black cardstock and foam mounted the baby images on it for some dimension.  The rhinestones were by Studio G and Imaginesce. The button, jute twine and the ribbon were from my stash.  I used Boyz R Gross Shadow NF (on the banner), Engravers MT (for the number 1), and Abbeyline (for the sentiment inside the card) fonts. 


Thanks for stopping by today and have a wonderful day!  Thank you Pam for letting me share my project with the Bug Bytes readers!  

October 5, 2012

Wee Birthday

Hello everyone. It's my turn as a designer on http://shesasassylady.blogspot.com/.
Thanks Sheila for having me as a designer and allow us all to post in your lovely blog.
My son's teacher had a birthday coming up and I thought to use my copic markers and a cute cute digi image from sylvia zett's wee line called Birthday Baby to make her a card.  The digi image can be found here - http://www.weestamps.com/?page_id=27
I was wondering what colors to use and was inspired by the scrapbitz copics challenge for this month - bright fun colors. And of course I had to use my new embossing folders - Marianne designables which I got from dutchpapercrafts. They are so lovely to play with.
Here is a card


The border is using spellbinder mega dies - Parisan Accents. I used the remaining blue paper (mat cardstock) after cutting the border for the inside of the card
 The embossing is using Mariannes designables - DS0916 - Anja's dots. You can see the pictures of all the lovelies here - http://shop.sweetstamps.com/EMBOSS-CUT-FOLDERS_c210.htm.
But I got mine from dutchpapercrafts. It is a cutting and embossing folder as you can see on the pink cardstock in front. But as I didn't want the inside to be cut like that I embossed half the card and then turned it around and embossed the other half. You can see the flowers going the other way.
The sentiment is from Anna Griffin stamps. To put the gift card in I just cut out a cardstock - rectangle with tabs.
 
Hope you liked the bright colored card . Thanks for having me here Sheila. Thank you all for reading.

post signature

Wee Birthday

Hello everyone. It's my turn as a designer on http://shesasassylady.blogspot.com/.
Thanks Sheila for having me as a designer and allow us all to post in your lovely blog.
My son's teacher had a birthday coming up and I thought to use my copic markers and a cute cute digi image from sylvia zett's wee line called Birthday Baby to make her a card. The digi image can be found here - http://www.weestamps.com/?page_id=27
I was wondering what colors to use and was inspired by the scrapbitz copics challenge for this month - bright fun colors. And of course I had to use my new embossing folders - Marianne designables which I got from dutchpapercrafts. They are so lovely to play with.
Here is a card


The border is using spellbinder mega dies - Parisan Accents. I used the remaining blue paper (mat cardstock) after cutting the border for the inside of the card
 The embossing is using Mariannes designables - DS0916 - Anja's dots. You can see the pictures of all the lovelies here - http://shop.sweetstamps.com/EMBOSS-CUT-FOLDERS_c210.htm.
But I got mine from dutchpapercrafts. It is a cutting and embossing folder as you can see on the pink cardstock in front. But as I didn't want the inside to be cut like that I embossed half the card and then turned it around and embossed the other half. You can see the flowers going the other way.
The sentiment is from Anna Griffin stamps. To put the gift card in I just cut out a cardstock - rectangle with tabs.
 
Hope you liked the bright colored card . Thanks for having me here Sheila. Thank you all for reading.

post signature

October 4, 2012

Love That Binds Card

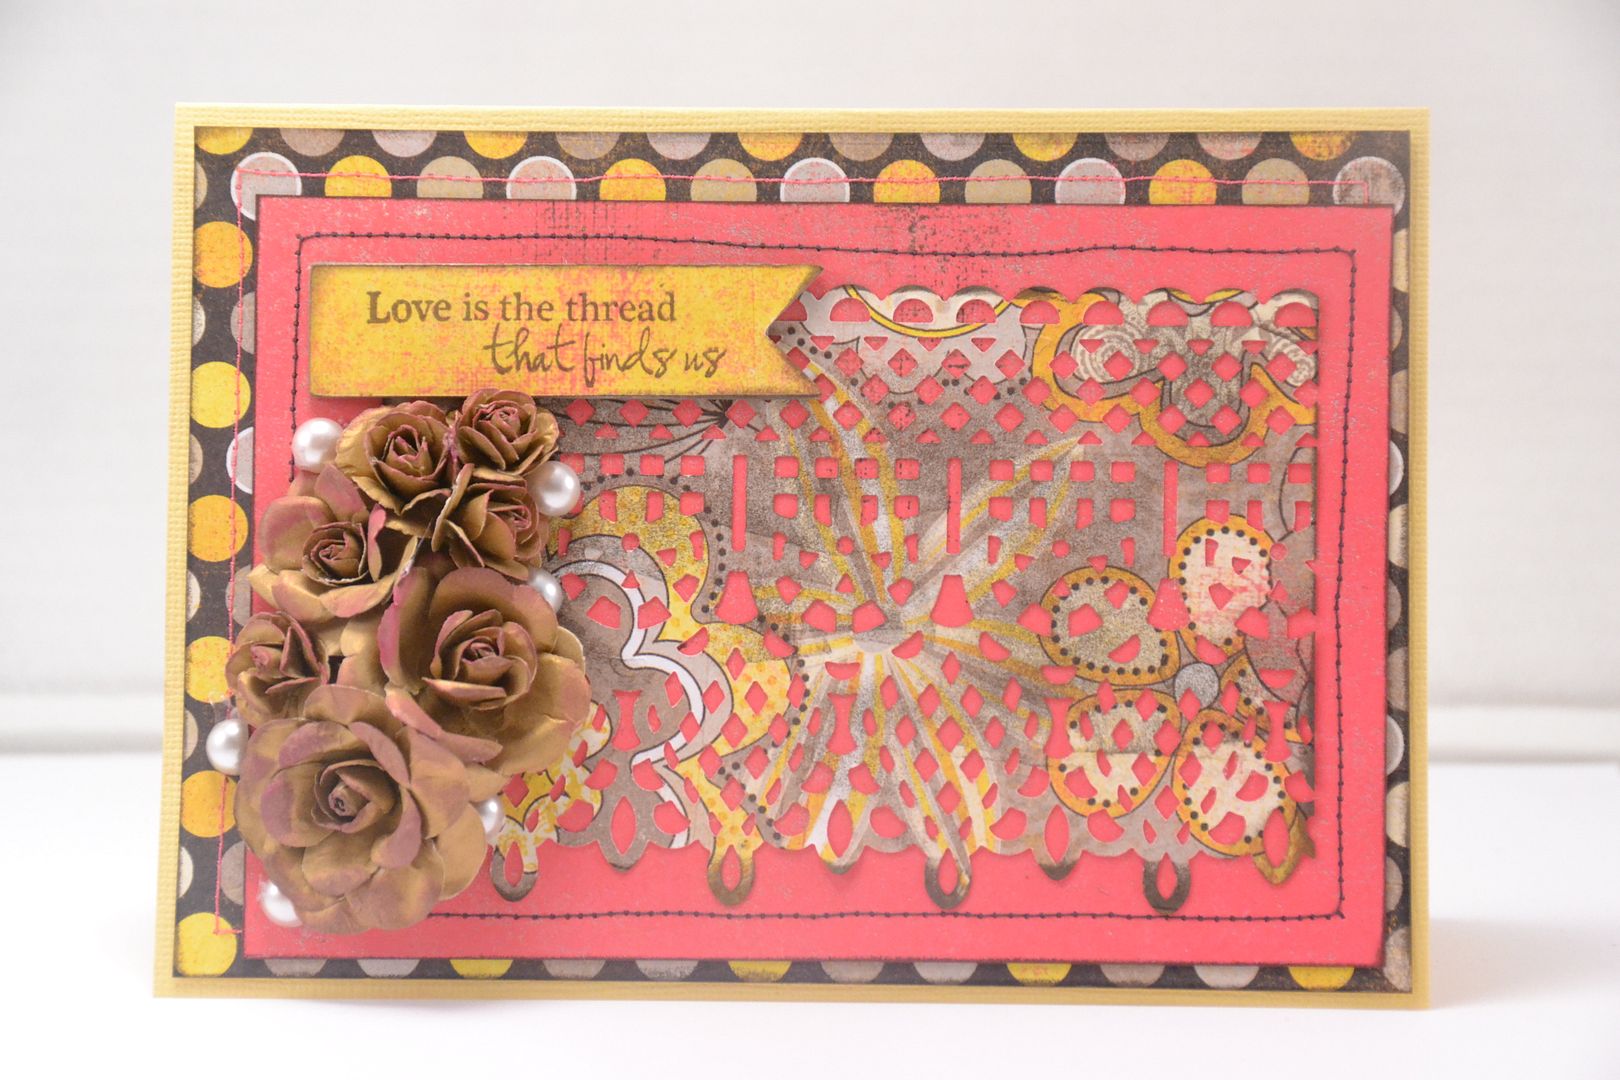
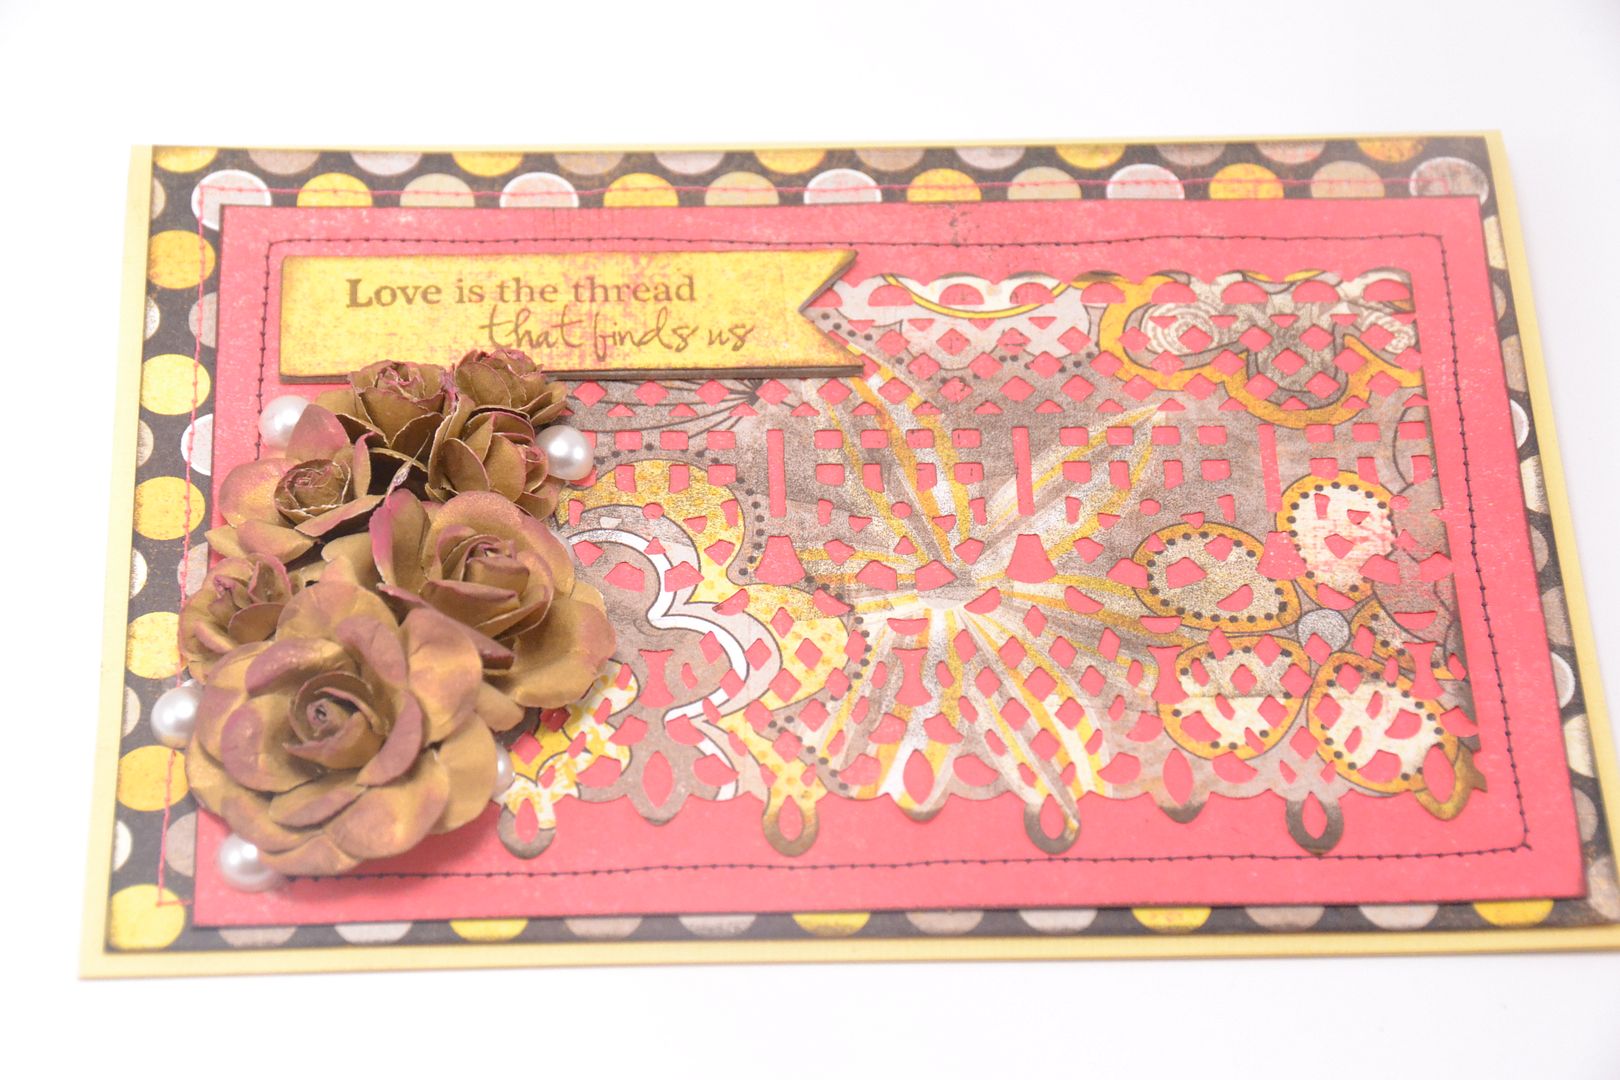
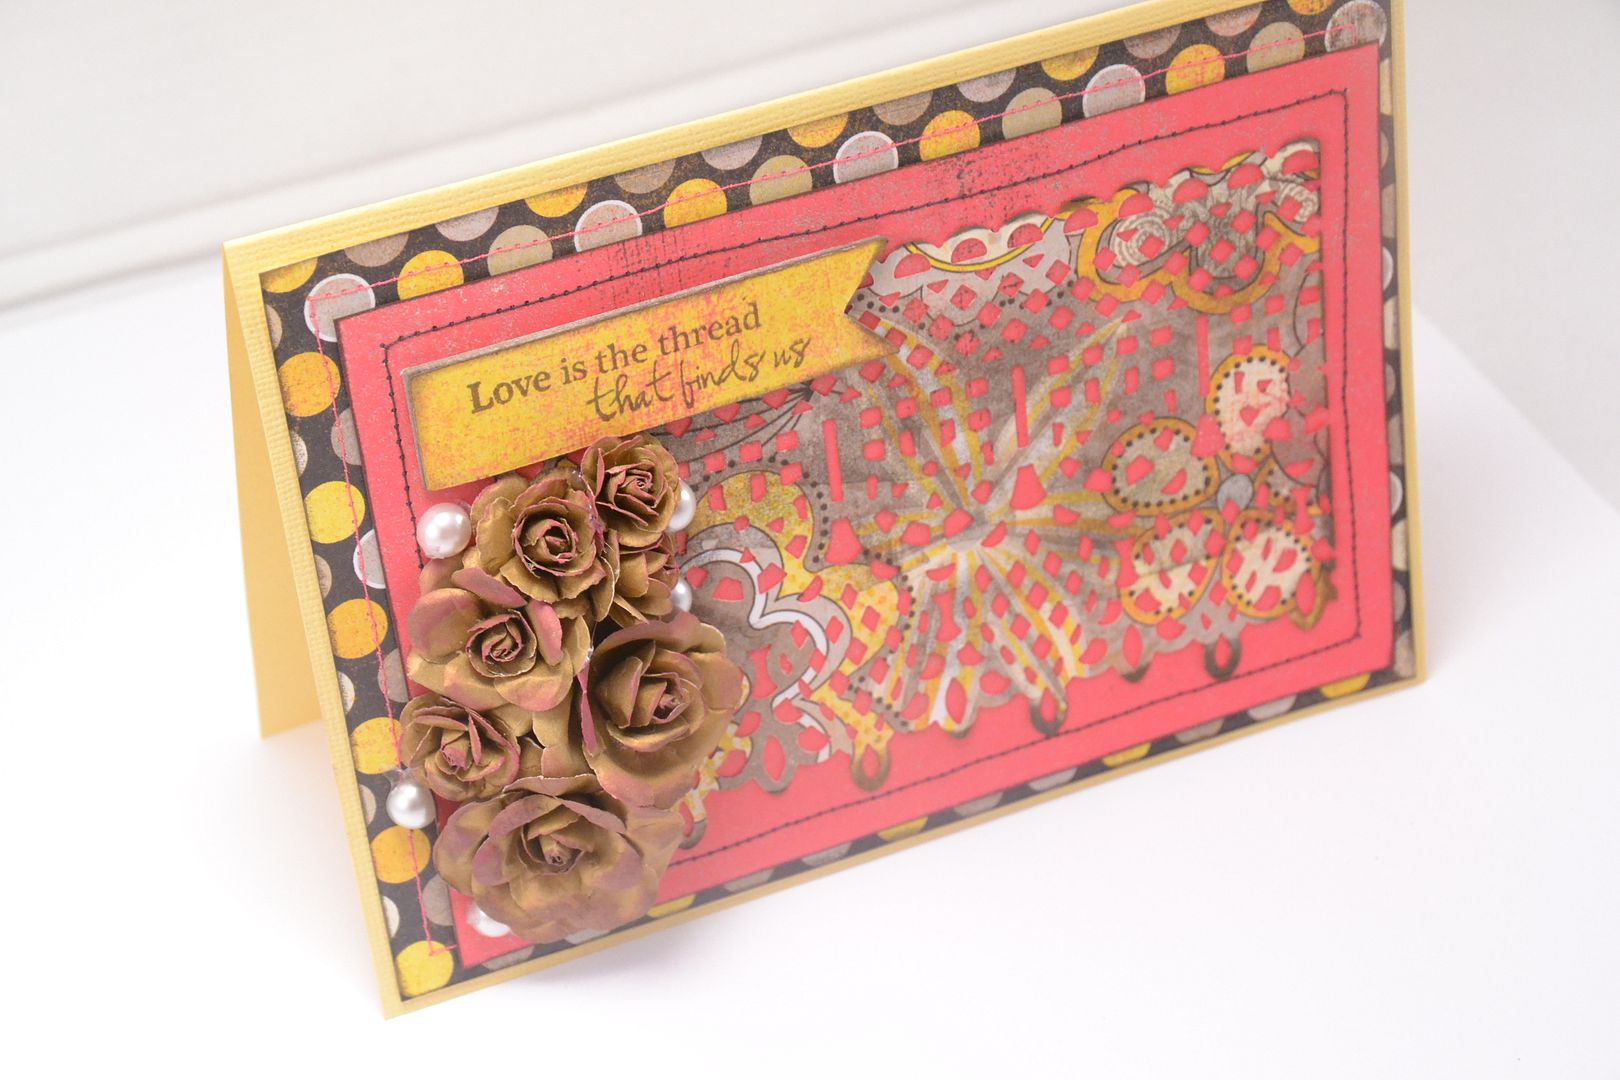
Hi everyone! This is Elizabeth from 217 Creations. Thank you Pam for having me over to play today. My mom's birthday was last week and of course I made her a card.  I wanted something feminine and trendy.  I chose to use a paper line from Authentique called Blissful.  I love this paper company! The paper is high quality and the patterns are so versatile.  They sell most collections in both 6 by 6 and 12 by 12.  I used a 12 by 12 stack that I bought at Hobby Lobby.
The card base is 5 by 7.  I stitched several layers together with a sewing machine. I then cut a lacy border from Heartfelt Creations Spellbinders with my Vagabond. Using spray adhesive, I attached the border to the card.
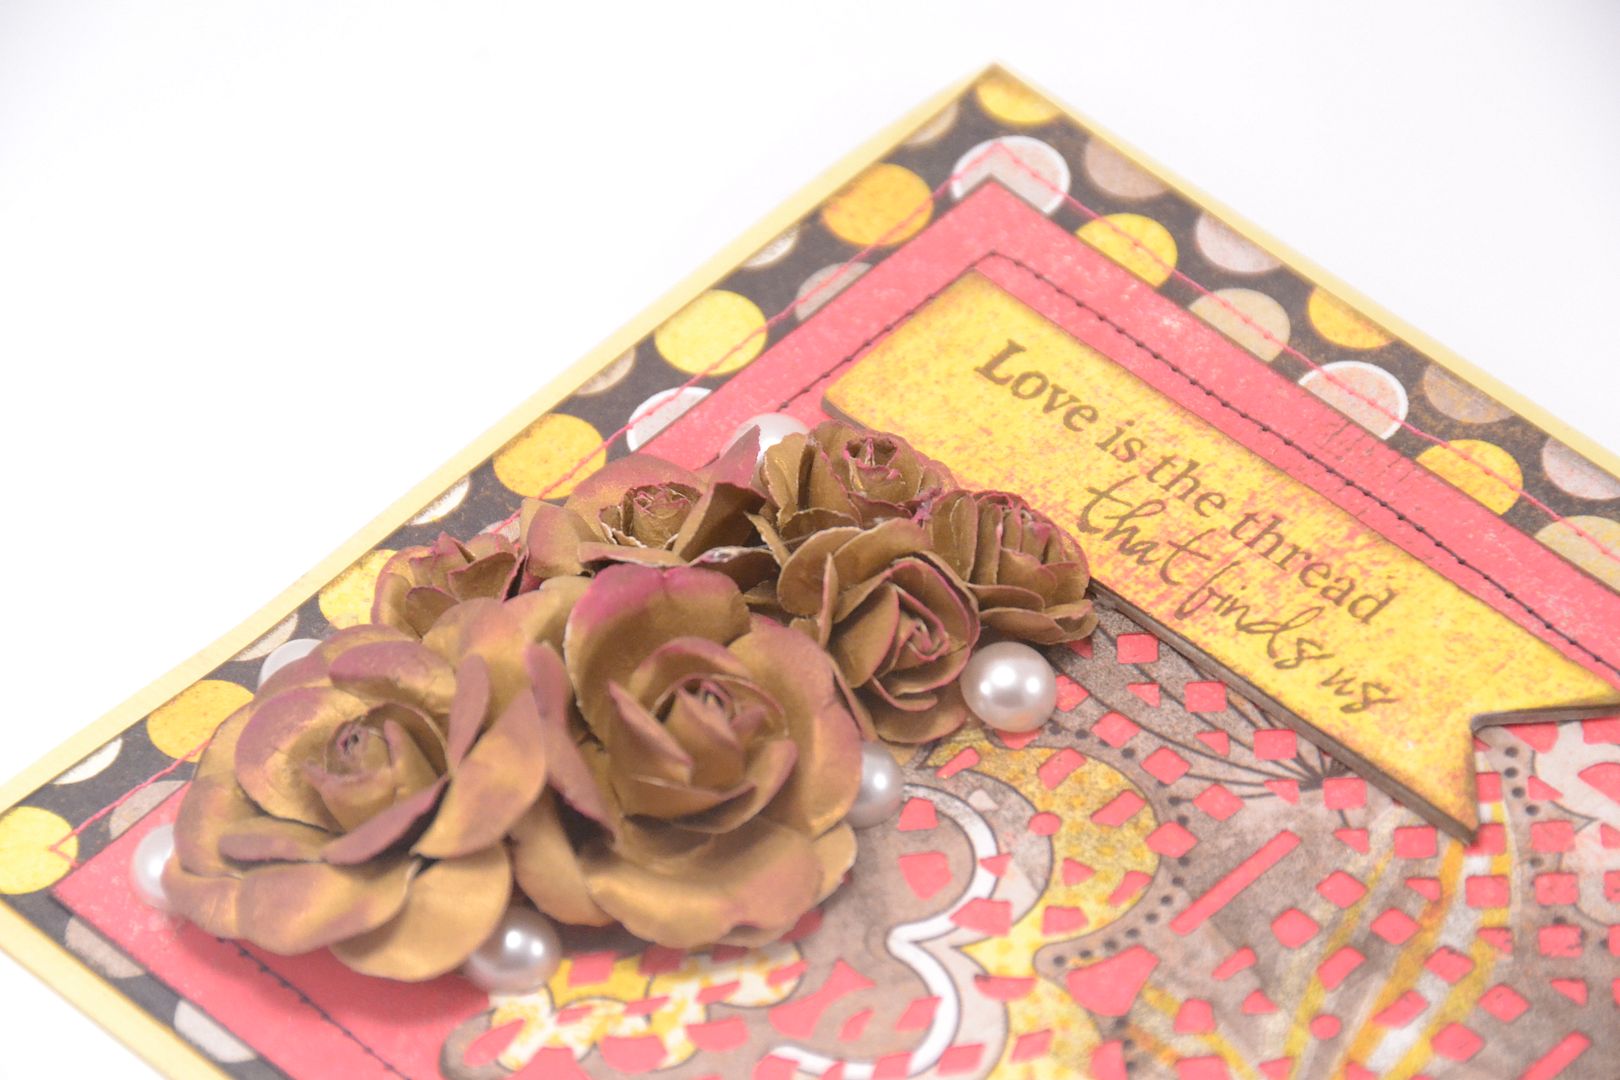
I then used Chipboard pieces from Close to My Heart Artiste bundle. I cut a banner from Cricut cartridge Artiste at .75 inches. I then inked the edges with Close to My Heart Cocoa ink.  The sentiment is from Pink By Design "Material Girl" and is stamped in Cocoa as well from CTMH. I love these chipboard pieces.  They save so much time and add depth without being bulky.
Finally I used some Recollections flowers from my stash to add dimension.  I adhered the flowers with hot glue. I also added some flat back pearls as well.
I love the colors of this card.  So fun and cheery! Perfect for a birthday!  As always thank you for taking the time to comment and follow both here at the Bug Bytes and on my personal blog at 217 Creations.  It means so much to me!

October 3, 2012

Hi, everyone and isn't life grand!

Hi everyone out there in blog land.

I would like to introduce myself to you all, as this is my first post here at The Bugbytes.  My name is Karon and I'm lucky enough to be a SAHM.  I have only been blogging since the middle of May, but it has really given me something else to focus on, other than just family and house work and stuff.  My blog is Karon's Krafty Korner and if you fancy stopping by any time please do.

I am so enjoying card making and occasionally having a creative moment:-)

Pam emailed me back in September and asked me if I would like to be a regular guest designer on her blog here, along with all the other fabulous members and as I am here today, you now know I said yes!

It is such a wonderful feeling to be approached in this way and I love to be able to share my simple creations with so many wonderful people.  I am to be guest designer on the first Wednesday of every month.

Today, I would like to share with you a card I made using a new technique (to me) called triple stamping.  I think you can probably stamp as many times as you want - it all depends how many layers you would like.  I feel this card could be used for an anniversary/birthday, maybe even valentines.


Anyway, I stamped my image three times.  The stamp is from a set called Reason to Smile and its made by Stampin' Up.  I won the set as blog candy back at the end of August from Pam at Paper Diva.

Just to be different I didn't cut mine into squares/rectangles I decided to cut mine on the angle for the layers.  No particular reason, just because I could LOL.


The card base is one of my 8" by 3" pre-folded card stock, bought in the UK many moons ago:-)

The first two layers are papers from the Recollections pack called Timeless.  I really do love this set of papers.  These layers were cut at 7.75" by 2.75" and then 7" by 2" as I wanted the first layer to show, I then inked all the edges.

I used Tim Holtz Tea Dye distress ink on the flower and sentiment layers and inked the edges on these too.


The red ribbon/trim is from my stash and I thought it worked well on this card.

Thanks Pam, for inviting me along and I hope to get to know everyone over the coming months.

Happy crafting.

October 2, 2012

Big Boy Gavin Turns 4


Hi, Sheila here from She's A Sassy Lady. We had such a good time celebrating Gavin's 4th birthday. He wanted a special lasagna dinner. The birthday boy alwasy decides what the menu is for their birthday. So we were invited over to celebrate. He is such a little cutie.
All he wanted for his birthday was Legos, so that is exactly what he got.


I was thrilled to put these two pages together as it didn't take any time at all and they were done using Close To My Heart digital scrapping called Studio J. I just uploaded the photos, picked the layout and paper and then just drug the photo on and it was done! I love that as I am so far behind in scrapping and with all the things happening in my family this was awesome to have it done in just a few minutes.


I love that I was able to use 10 photos on this and the photos are in many different sizes and I didn't have to cut a thing. You too can give this a try with the free digital prgram Studio J if you too need to finish your layouts in a hurry. It only cost $39.95 for a 5 pack and that is a real bargain for the quality of the pages.
I hope you enjoyed today's post, I know I had fun sharing it with you.

October 1, 2012

Joy Fold Thanksgiving Card

Good Morning!
This is Jen from 3 Cats and a Bug.  I wanted to do something different for my post here at The Bugbytes!  Over at Splitcoast Stampers, I found the directions to make a Joy Fold card.

I started out with two pieces of card stock cut at 4 x 8.5 (scored at 5.5) and 3 x 8 (scored at 4).

I then cut out (1) 4 x 5.25 piece of patterned paper.
I also cut out 3 different pieces of paper at 2.75 x 3.75.
I inked around the edges of all the patterned paper and then started to put everything together.

On the 3 x 8 piece of card stock I place the patterned paper on each side as shown.

I glued down the smaller piece of card stock to the larger piece.
Having never made one of these cards before, I decided I really didn't like the inside of darker orange cardstock blank, so I cut another piece of patterned paper at 2.75 x 3.75 and glued that down.  From there I started decorating my card.  I used a tag (a time to give thanks) with a pop glue dot to hold the flap of my card closed.


I really like how this card turned out.  They are a lot more work, but I think it was worth the effort!

Thanks for looking!

September 28, 2012

Warm Wishes!

Hi all, it's Jeannie from Nonna's Scraps! I am so excited to be visiting on Pam's blog again today. Thanks for having me!

I just love fall colors! The chill of the air, the warmth of the sun and the richness of the colors brings warm wishes from nature into my life. That said, making fall cards makes me happy! 


This card was actually inspired by an embossing folder found at Hobby Lobby. It is their own brand
and works beautifully! Plus, it wasn't that expensive with my coupon. :-) 


After I returned home I started creating the card that I saw in my mind. I knew it had to be Kaleidescopes from Kaleidescope Kreator. I found a fall photo in my "scraps" and went to town. 


4.25 x 11" card base (I used brown)
6" square of a fall color
6 x 11" rectangle of a fall color
Hobby Lobby embossing folder: Fall leaves
Cuttlebug embossing folder: Swirls
Embossing machine
a fall photo
Distress Antique Photo Ink
White cardstock 
Home Printer
Make the Cut software
Zing
I Rock heat set tool
Rhinestones
Ribbon
Assorted glue

I first created one kaleidescope in KK 3 and saved it as a JPG image. The image used is a fall leaf image found on Google. 

The next is familiar to MTC users...Import: Pixel trace into MTC. I have had the greatest success using the technique found here

In addition, I added a .03 shadow around the largest kaleidescope and saved it as a seperate file.

When the tracings were complete, I duplicated the kaleidescope for a total of 3.  I sized the Kaleidescopes at 3", 2.75 and 2.5". 


Okay, I have to admit...even though I saw the card in my mind it developed before my eyes!
When I picked the paper to coordinate with the kaleidescopes it was by trial and error.Should I use this set?


Or this one?


I like the way the papers make the kaleidescopes pop!

From the green I cut the mat for the largest Kaleidescope and a 4.2 x 5.4" rectangular mat. From the orange I cut a rectangular mat to which a welded spirals found in the MTC gallery. I apologize that I cannot locate the creator's number. 

I matted the rectangle/square for the most efficient cutting and arranged the shapes on a 12" sq. mat.


Well, you can almost see the cut images. My Zing did a wonderful job with the tiny swirls---so happy!


See:


I then ran the orange through my Cuttlebug with the Fall leaves embossing folder.


I ran the green through using the swirls folder. I then lightly inked the tops of the paper with Distress Antique Photo ink to give some dimension. 


I stacked the kaleidescopes using pop dots.


I tied a ribbon around the orange mat, layered the front of the card and added the stacked kaleidescope. To finish it I added I rock heat set gems. The sentiment reads, "Warm wishes coming your way!"

Thanks for visiting...hoping warm wishes will be coming your way today!